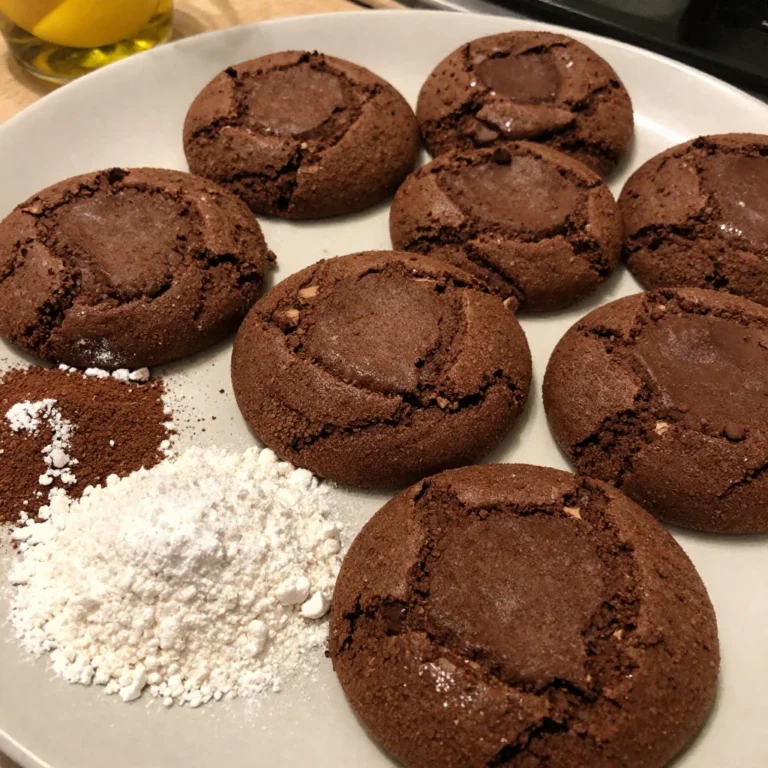
Avalanche Cookie Bars
I’ll never forget the first time I made Avalanche Cookie Bars for a holiday party. My older brother had challenged me to create something that felt festive but didn’t require the precision of individual cookies. I wanted something crowd-pleasing, visually stunning, and dangerously easy to eat.
These bars delivered on every front. The combination of white chocolate, coconut, and crunchy texture reminded me of a snowy avalanche tumbling down a mountainside—hence the name. Since then, Avalanche Cookie Bars have become my go-to dessert when I need to impress without spending hours in the kitchen.
They’re rich, chewy, and incredibly satisfying. Moreover, they travel well, cut cleanly, and always disappear faster than I expect.
Why Avalanche Cookie Bars Work So Well
Avalanche Cookie Bars succeed because they balance multiple textures and flavors in every bite. You get the buttery cookie base, the creamy white chocolate layer, and the satisfying crunch from nuts and coconut. These bars don’t rely on complicated techniques or hard-to-find ingredients. Instead, they showcase how simple components can combine into something memorable.
What makes Avalanche Cookie Bars particularly appealing is their forgiving nature. Unlike delicate French pastries or temperamental soufflés, these bars welcome experimentation. You can adjust sweetness levels, swap nuts, or change the chocolate type without ruining the recipe. For busy home cooks, this flexibility matters tremendously.
Additionally, Avalanche Cookie Bars hold up beautifully at room temperature. You don’t need refrigeration for storage, which makes them perfect for potlucks, bake sales, or gift-giving. I’ve shipped these bars across state lines, and they arrived intact and delicious.
Selecting Your Ingredients for Perfect Avalanche Cookie Bars
Quality ingredients make the difference between good and exceptional Avalanche Cookie Bars. Let me walk you through what I choose and why.
For the cookie base, I prefer unsalted butter at room temperature. This gives you better control over salt levels and creates a tender crumb. Meanwhile, I always use pure vanilla extract rather than imitation. The flavor difference becomes obvious in simple recipes like this.
White chocolate quality matters enormously in Avalanche Cookie Bars. I choose high-quality white chocolate chips or bars with real cocoa butter. Check the ingredient list carefully.
Many budget white chips contain vegetable oils instead, which affects both flavor and texture. The real stuff melts more smoothly and tastes noticeably richer.
For coconut, I typically use sweetened shredded coconut. However, unsweetened works beautifully if you prefer less sweetness. Toast the coconut lightly before adding it to intensify the flavor. This small step transforms the entire batch of Avalanche Cookie Bars.
Regarding nuts, I gravitate toward macadamias or cashews for their buttery richness. Almonds provide excellent crunch, while pecans add wonderful depth. Choose raw or lightly salted nuts, then toast them yourself for maximum freshness.
Essential Equipment and Preparation
You don’t need specialized equipment for Avalanche Cookie Bars. A standard 9×13-inch baking pan works perfectly. I line mine with parchment paper, leaving some overhang on the sides.
This makes lifting the finished bars out incredibly easy. Furthermore, it ensures clean cuts and simple cleanup.
A sturdy mixing bowl and wooden spoon suffice for the dough. However, I often use a stand mixer with the paddle attachment because it creams the butter and sugar more efficiently. Electric hand mixers work equally well for this recipe.
For melting white chocolate, I prefer a double boiler setup. Place a heatproof bowl over a pot of simmering water, making sure the bowl doesn’t touch the water. This gentle heat prevents scorching. Alternatively, use your microwave in 20-second intervals, stirring between each burst.
A sharp knife and cutting board help portion the finished Avalanche Cookie Bars cleanly. I wipe the knife with a damp cloth between cuts for the neatest edges.
If you’re looking for a simple yet delicious recipe that doesn’t require specialized equipment, try making Cheesy Taco Pasta. This dish is as easy to prepare as Avalanche Cookie Bars, making it a great option for busy weeknights.
Building Your Avalanche Cookie Bars Layer by Layer
Creating Avalanche Cookie Bars follows a straightforward progression. First, you build the cookie base. Cream softened butter with both granulated and brown sugar until light and fluffy.
This typically takes three to four minutes with a mixer. The mixture should look pale and noticeably increase in volume.
Next, add your eggs one at a time, beating well after each addition. Then incorporate vanilla extract. The wet ingredients should appear smooth and cohesive before you add flour.
In a separate bowl, whisk together all-purpose flour, baking powder, and salt. This ensures even distribution of leavening agents throughout your Avalanche Cookie Bars. Gradually add the dry mixture to the wet ingredients, mixing just until combined. Overmixing develops too much gluten, resulting in tough bars.
Press the dough firmly into your prepared pan. I use my hands or the back of a measuring cup to create an even layer. Make sure you reach all corners and edges. The base should feel compact and uniform.
Bake the base until it just begins to turn golden around the edges. The center might look slightly underdone, but it will continue cooking from residual heat. Meanwhile, prepare your topping.
Creating the Signature Avalanche Topping
The topping distinguishes Avalanche Cookie Bars from ordinary cookie bars. While the base bakes, combine white chocolate chips with sweetened condensed milk in your double boiler. Stir constantly as the chocolate melts into the condensed milk. The mixture transforms into a smooth, glossy sauce.
Once fully melted and combined, remove from heat. Fold in your toasted coconut and chopped nuts. The mixture should look thick and studded with texture. Some recipes add miniature marshmallows at this stage, which creates extra gooeyness.
Pour this mixture over the warm cookie base immediately after removing it from the oven. Spread it evenly using an offset spatula. Work quickly, as the white chocolate mixture begins setting as it cools.
Return the pan to the oven for another twelve to fifteen minutes. The topping should look set around the edges but still slightly soft in the center. It firms up considerably as the Avalanche Cookie Bars cool. Therefore, avoid overbaking, which can make the topping grainy.
To elevate your dessert game, consider making Brookie Cheesecake Lasagna as a delightful alternative. Just like the topping on Avalanche Cookie Bars, this layered dessert combines rich flavors that will leave your guests wanting more.
Cooling, Cutting, and Storage Tips
Patience becomes crucial after baking Avalanche Cookie Bars. Let the pan cool completely at room temperature before cutting. This usually takes about two hours. Rushing this step results in messy cuts and a topping that slides off the base.
Once cooled, lift the entire slab out using the parchment paper overhang. Place it on a cutting board. Use a large, sharp knife to cut into bars. I typically create twenty-four squares from a 9×13-inch pan, but you can adjust size based on your preference.
For the cleanest cuts, wipe your knife between each slice. Some people chill Avalanche Cookie Bars briefly before cutting, which firms everything up. However, I find room temperature cutting works perfectly well.
Store Avalanche Cookie Bars in an airtight container at room temperature for up to five days. Layer them between parchment paper to prevent sticking. For longer storage, freeze them for up to three months. Wrap individual bars tightly in plastic wrap, then place them in a freezer bag.
Flavor Variations Worth Trying
Once you master basic Avalanche Cookie Bars, countless variations await. I’ve experimented extensively with different flavor profiles.
For chocolate lovers, swap white chocolate for dark or milk chocolate. Add chocolate chips to the cookie base for extra intensity. This creates a richer, less sweet version of Avalanche Cookie Bars.
Citrus zest brightens the flavor beautifully. Add lemon or orange zest to the cookie dough. The contrast between citrus and white chocolate creates complexity. Fresh herbs like rosemary or basil might sound unconventional, but they work surprisingly well in small amounts.
Dried fruit adds chewy sweetness. Chopped cranberries, cherries, or apricots complement the coconut nicely. Fold them into the topping mixture before spreading.
For a tropical twist, add macadamia nuts and dried pineapple. Replace some coconut with finely chopped crystallized ginger. These Avalanche Cookie Bars taste like vacation.
Spices transform the flavor profile entirely. Add cinnamon, cardamom, or nutmeg to the cookie base. A tiny pinch of cayenne in the topping creates unexpected warmth.
Once you’ve mastered the classic Avalanche Cookie Bars, you can explore variations like Creamy Grape Salad for a refreshing side. This salad complements the rich flavors of the bars perfectly, making it a great addition to any gathering.
Common Mistakes and How to Avoid Them
I’ve made plenty of mistakes with Avalanche Cookie Bars over the years. Let me help you avoid the same pitfalls.
The most common error involves overbaking. These bars continue cooking after you remove them from the oven. Pull them out when they still look slightly underdone in the center.
They’ll firm up perfectly as they cool. Overbaked Avalanche Cookie Bars become dry and crumbly instead of chewy.
Another mistake involves using low-quality white chocolate. Those chips that don’t melt smoothly contain stabilizers and oils. They create a grainy, unpleasant texture. Invest in proper white chocolate for significantly better results.
Cutting too soon frustrates many bakers. The topping needs time to set completely. Cutting warm bars creates a mess. Practice patience here.
Skipping the parchment paper makes removal difficult. You’ll struggle to get clean bars out of the pan. The small effort of lining your pan saves enormous frustration later.
Finally, don’t skip toasting your coconut and nuts. Raw ingredients taste flat compared to toasted ones. This five-minute step elevates your Avalanche Cookie Bars dramatically.
Scaling the Recipe for Different Occasions
Avalanche Cookie Bars scale beautifully for various situations. For smaller gatherings, halve the recipe and use an 8×8-inch square pan. The baking time decreases slightly, so watch carefully.
For large crowds, double the recipe and use two 9×13-inch pans. Alternatively, use a half-sheet pan for thinner bars that serve more people. Adjust baking time accordingly, checking for doneness rather than relying solely on timing.
I’ve made Avalanche Cookie Bars for crowds of fifty or more. They handle large-scale production remarkably well. Moreover, you can bake them a day ahead without quality loss.
For larger gatherings, you might want to prepare Homestyle Chicken Soup alongside your Avalanche Cookie Bars. This comforting soup pairs well with the sweet bars, creating a balanced menu that caters to all tastes.
Nutritional Considerations and Modifications
Avalanche Cookie Bars definitely qualify as an indulgent treat. However, you can make modifications for dietary needs.
For gluten-free versions, substitute cup-for-cup gluten-free flour blend. The texture changes slightly but remains delicious. I’ve successfully used almond flour combined with tapioca starch.
Reducing sugar works to a point. You can decrease granulated sugar by about a quarter without major structural issues. However, the condensed milk in the topping contributes significant sweetness that’s harder to modify.
Dairy-free Avalanche Cookie Bars require more substitutions. Use vegan butter, coconut condensed milk, and dairy-free white chocolate chips. The flavor shifts toward more coconut-forward, which I actually enjoy.
Here’s a rough nutritional breakdown per bar when cutting into 24 pieces:
| Nutrient | Amount per Bar |
|---|---|
| Calories | 220-250 |
| Total Fat | 12-14g |
| Saturated Fat | 7-9g |
| Carbohydrates | 26-30g |
| Protein | 3-4g |
| Sodium | 80-120mg |
Pairing and Serving Suggestions
Avalanche Cookie Bars shine at various occasions. I serve them at holiday parties, where their festive appearance fits perfectly. The white chocolate and coconut evoke winter scenes naturally.
For casual gatherings, cut larger squares and serve with strong coffee or cold milk. The richness pairs beautifully with bitter espresso.
I’ve packaged Avalanche Cookie Bars as gifts wrapped in cellophane with ribbon. They look impressive and transport easily. Include a small card with the recipe name and a brief description.
For plated desserts, cut smaller portions and serve with fresh berries. Raspberries or strawberries provide tartness that balances the sweetness. A small dollop of unsweetened whipped cream adds elegance.
These bars also work for brunches. Their cookie-like qualities make them acceptable morning treats alongside fruit and yogurt.
Final Thoughts on Mastering Avalanche Cookie Bars
Avalanche Cookie Bars represent everything I love about practical desserts. They deliver impressive results without demanding professional skills or unusual ingredients. You can make them confidently after reading through this guide once.
The key lies in quality ingredients, proper timing, and patience during cooling. Master these elements, and your Avalanche Cookie Bars will consistently delight everyone who tries them.
I encourage you to start with the basic recipe, then branch into variations once you understand how the components work together. Pay attention to texture at each stage. Notice how the base feels when pressed into the pan, how the topping looks when properly melted, and how everything comes together as it cools.
These bars have earned permanent status in my dessert rotation. They’ve solved countless “what should I bring” dilemmas and converted many skeptical eaters into enthusiastic fans. Most importantly, Avalanche Cookie Bars prove that impressive desserts don’t require culinary school training or an entire day in the kitchen.
Make a batch this weekend. Share them with friends or family. Watch how quickly they disappear.
Then make them again, perhaps trying one of the variations I mentioned. That’s how you truly learn a recipe—through repetition and thoughtful experimentation. Happy baking!
Avalanche Cookie Bars
Ingredients
Method
- Preheat the oven to 350°F (175°C). Line a 9x13-inch baking pan with parchment paper.
- In a mixing bowl, cream together the butter, granulated sugar, and brown sugar until light and fluffy.
- Add the eggs one at a time, beating well after each addition, then mix in the vanilla extract.
- In a separate bowl, whisk together the flour, baking powder, and salt. Gradually add this to the wet ingredients until just combined.
- Press the dough into the prepared pan evenly and bake for about 20 minutes until the edges are golden.
- While the base is baking, melt the white chocolate chips with the sweetened condensed milk in a double boiler, stirring until smooth.
- Fold in the toasted coconut and chopped nuts into the melted chocolate mixture.
- Pour the topping over the warm cookie base and spread evenly. Return to the oven for an additional 12-15 minutes until set.
- Allow to cool completely before cutting into bars.
Notes
Avalanche Cookie Bars are a delightful dessert that combines various textures and flavors, making them a popular choice for gatherings. Their forgiving nature allows for easy customization, making them a favorite among home bakers looking for a crowd-pleasing treat; learn more about this delicious dessert in the dessert category.