Condensed Milk Bread
The first time I made Condensed Milk Bread, I honestly didn’t expect much. I was testing a recipe late at night, using up an old can of sweetened condensed milk from the pantry. But when I pulled that golden loaf from the oven, the kitchen smelled like a bakery had moved in.
The texture was impossibly soft, almost pillowy, with a subtle sweetness that made it perfect for breakfast, snacks, or even dessert. My brothers walked in the next morning, tore into it without butter or jam, and declared it one of the best breads I’d ever made. That’s the magic of Condensed Milk Bread—it’s simple, forgiving, and absolutely irresistible.
This bread has become my go-to whenever I want something comforting but impressive. The condensed milk does double duty here: it sweetens the dough naturally and creates an incredibly tender crumb that stays soft for days. You don’t need fancy equipment or advanced techniques.
Just a few pantry staples, a little patience during the rise, and you’ll have a loaf that rivals anything from a professional bakery. Trust me, once you taste this Condensed Milk Bread, you’ll understand why it’s earned a permanent spot in my baking rotation.
Why You’ll Love This Condensed Milk Bread Recipe
This Condensed Milk Bread hits all the right notes. First, the texture is phenomenally soft—almost like a Japanese milk bread, but without the complicated tangzhong method. The sweetened condensed milk creates a tender, fine crumb that practically melts in your mouth.
Second, it’s versatile. You can eat it plain, toast it with butter, make French toast, or use it for the most luxurious sandwiches you’ve ever had.
Additionally, this recipe is beginner-friendly. I’ve taught friends with zero bread-making experience to make this Condensed Milk Bread successfully on their first try. The dough is forgiving, the ingredients are straightforward, and the results are consistently excellent.
Plus, it stays fresh much longer than regular bread thanks to the fat and sugar content from the condensed milk. You’ll be slicing into soft, delicious bread even three or four days later.
Finally, the flavor is subtly sweet without being cloying. It’s sweet enough to enjoy on its own but neutral enough to pair with savory spreads. That balance makes this Condensed Milk Bread perfect for any time of day. I’ve served it at brunches, packed it for picnics, and given loaves as gifts—it’s always a hit.
Ingredients You’ll Need
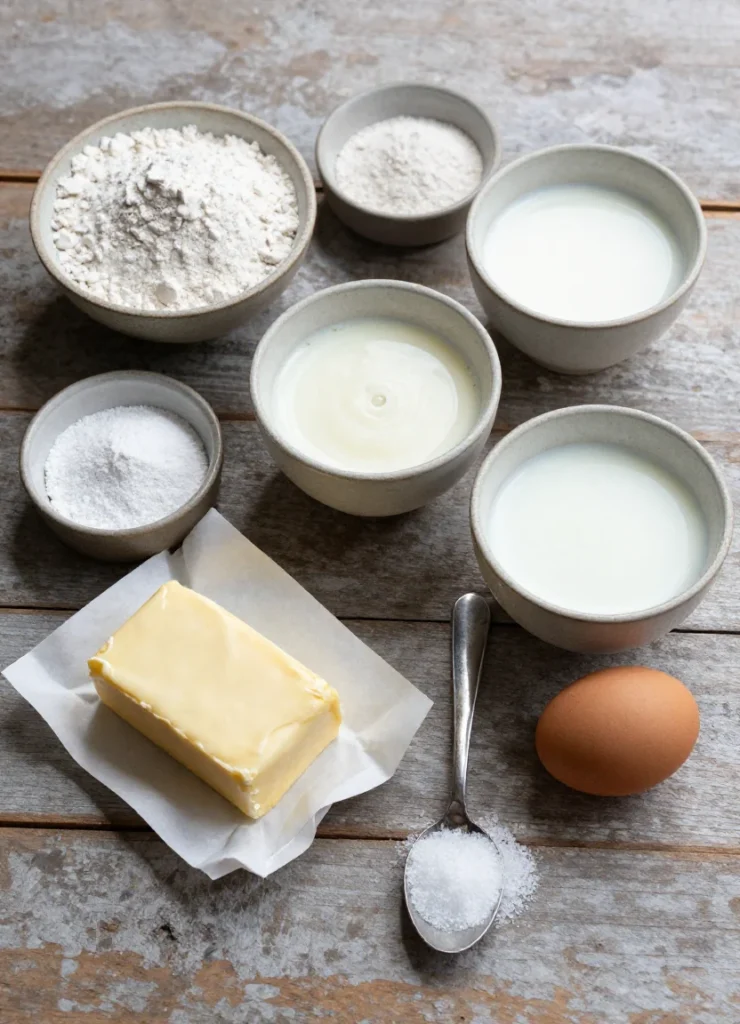
The beauty of Condensed Milk Bread lies in its simplicity. You probably have most of these ingredients already. Here’s what you’ll need:
| Ingredient | Amount | Notes |
|---|---|---|
| All-purpose flour | 3½ cups (440g) | Bread flour works too for extra chew |
| Active dry yeast | 2¼ teaspoons (7g) | One standard packet |
| Sweetened condensed milk | ½ cup (120ml) | The star ingredient |
| Whole milk | ¾ cup (180ml) | Warmed to about 110°F |
| Unsalted butter | 4 tablespoons (56g) | Softened to room temperature |
| Egg | 1 large | Room temperature is best |
| Salt | 1 teaspoon | Enhances all the flavors |
| Egg wash | 1 egg + 1 tablespoon milk | For that beautiful golden crust |
The condensed milk is non-negotiable here—it’s what makes this bread special. I always use full-fat versions for the richest flavor and texture. Meanwhile, warming the milk helps activate the yeast faster, but don’t make it too hot or you’ll kill the yeast. Aim for comfortably warm, like bathwater.
Substitutions & Variations
This Condensed Milk Bread recipe is quite adaptable. If you want a richer loaf, swap half the all-purpose flour for bread flour. The higher protein content creates a slightly chewier texture that some people prefer. You can also use instant yeast instead of active dry—just mix it directly with the dry ingredients and skip the proofing step.
For a dairy-free version, substitute the whole milk with almond or oat milk, and use dairy-free condensed milk (usually coconut-based). I’ve tested this variation, and while the flavor changes slightly, it still produces a wonderfully soft loaf. You can also replace the butter with coconut oil, though the texture becomes slightly denser.
Want to add flavor? Try mixing in a teaspoon of vanilla extract or a tablespoon of honey. I sometimes add a pinch of cardamom or cinnamon for a subtly spiced version.
For a savory twist on this Condensed Milk Bread, reduce the condensed milk to ¼ cup and add shredded cheese and herbs to the dough. It’s unconventional, but absolutely delicious.
Step-by-Step Instructions
Making Condensed Milk Bread is straightforward once you understand the rhythm. Here’s how I do it every time:
Step 1: Activate the yeast. In a small bowl, combine the warm milk and yeast. Let it sit for about 5 minutes until it becomes foamy.
This tells you the yeast is alive and ready to work. If nothing happens, your yeast might be expired or your milk was too hot.
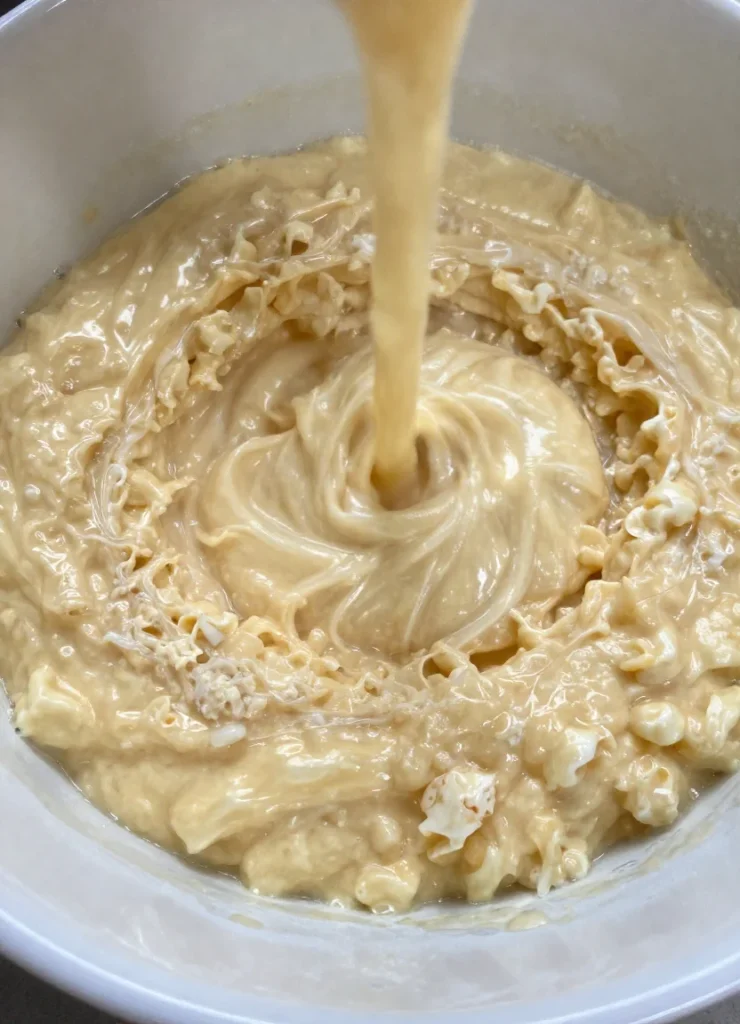
Step 2: Mix the wet ingredients. In a large bowl, whisk together the condensed milk, softened butter, and egg until smooth. The mixture might look slightly separated—that’s fine. Pour in the activated yeast mixture and stir to combine.
Step 3: Add the dry ingredients. Add the flour and salt to the wet ingredients. Mix with a wooden spoon until a shaggy dough forms. It’ll look rough and messy at first, but that’s exactly what you want.
Step 4: Knead the dough. Turn the dough out onto a lightly floured surface and knead for about 8-10 minutes. The dough should become smooth, elastic, and slightly tacky but not sticky.
If it’s too sticky, add flour one tablespoon at a time. I usually knead by hand because I love feeling the dough transform, but a stand mixer with a dough hook works perfectly too—just knead on medium speed for 6-7 minutes.
Step 5: First rise. Place the dough in a lightly greased bowl, turning once to coat. Cover with a damp towel or plastic wrap and let it rise in a warm spot until doubled in size, about 1 to 1½ hours. I often put mine in the oven with just the light on—it creates the perfect warm environment.
Step 6: Shape the loaf. Punch down the dough to release the air. Turn it out onto your work surface and shape it into a loaf.
I roll it into a rectangle, then roll it up tightly from the short end, tucking the ends under. Place it seam-side down in a greased 9×5-inch loaf pan.
Step 7: Second rise. Cover the pan and let the Condensed Milk Bread rise again until it crowns about an inch above the pan rim, roughly 45 minutes to an hour. Don’t skip this step—it’s crucial for that soft, airy texture.
Step 8: Bake. Preheat your oven to 350°F. Brush the top of the loaf with egg wash for a gorgeous golden finish.
Bake for 30-35 minutes until the top is deep golden brown and the internal temperature reaches 190°F. If the top browns too quickly, tent it loosely with foil.
Step 9: Cool. Remove the bread from the oven and let it cool in the pan for 10 minutes. Then turn it out onto a wire rack to cool completely. I know it’s tempting to slice into it immediately, but letting it cool helps the crumb set properly.
Pro Tips for Success
After making countless loaves of Condensed Milk Bread, I’ve learned a few tricks that make a real difference. First, always check your yeast’s expiration date. Old yeast is the number one reason bread doesn’t rise properly. If you’re unsure, proof it first—if it doesn’t foam up, get fresh yeast.
Second, resist the urge to add too much flour. The dough should be slightly tacky after kneading, not dry. A wetter dough produces a softer, more tender loaf. If your dough feels too sticky during kneading, dust your hands with flour instead of adding it to the dough.
Third, create a warm rising environment. Yeast loves temperatures between 75-85°F. In winter, I turn on my oven for one minute, turn it off, then place the covered dough inside. It’s like a cozy little greenhouse.
Furthermore, don’t skip the egg wash. It’s what gives this Condensed Milk Bread that bakery-quality shine and color. For an even glossier finish, brush the loaf twice—once before baking and once halfway through.
Finally, use an instant-read thermometer to check doneness. Bread is perfectly baked when the internal temperature reaches 190-200°F. This takes the guesswork out completely and prevents underbaked centers.
Storage & Reheating Tips
One of the best things about Condensed Milk Bread is how well it keeps. Store it at room temperature in an airtight container or wrapped tightly in plastic wrap for up to 4 days. The condensed milk keeps the crumb moist and soft much longer than regular bread.
For longer storage, slice the cooled bread and freeze it for up to 3 months. I separate the slices with parchment paper so I can grab just one or two at a time. Toast frozen slices straight from the freezer—they’re perfect for quick breakfasts.
To refresh day-old Condensed Milk Bread, wrap a slice in a damp paper towel and microwave for 10-15 seconds. It’ll taste fresh-baked again. Alternatively, toast slices with butter for an extra-indulgent treat. The slight caramelization on the outside contrasts beautifully with the soft interior.
What to Serve With This Recipe
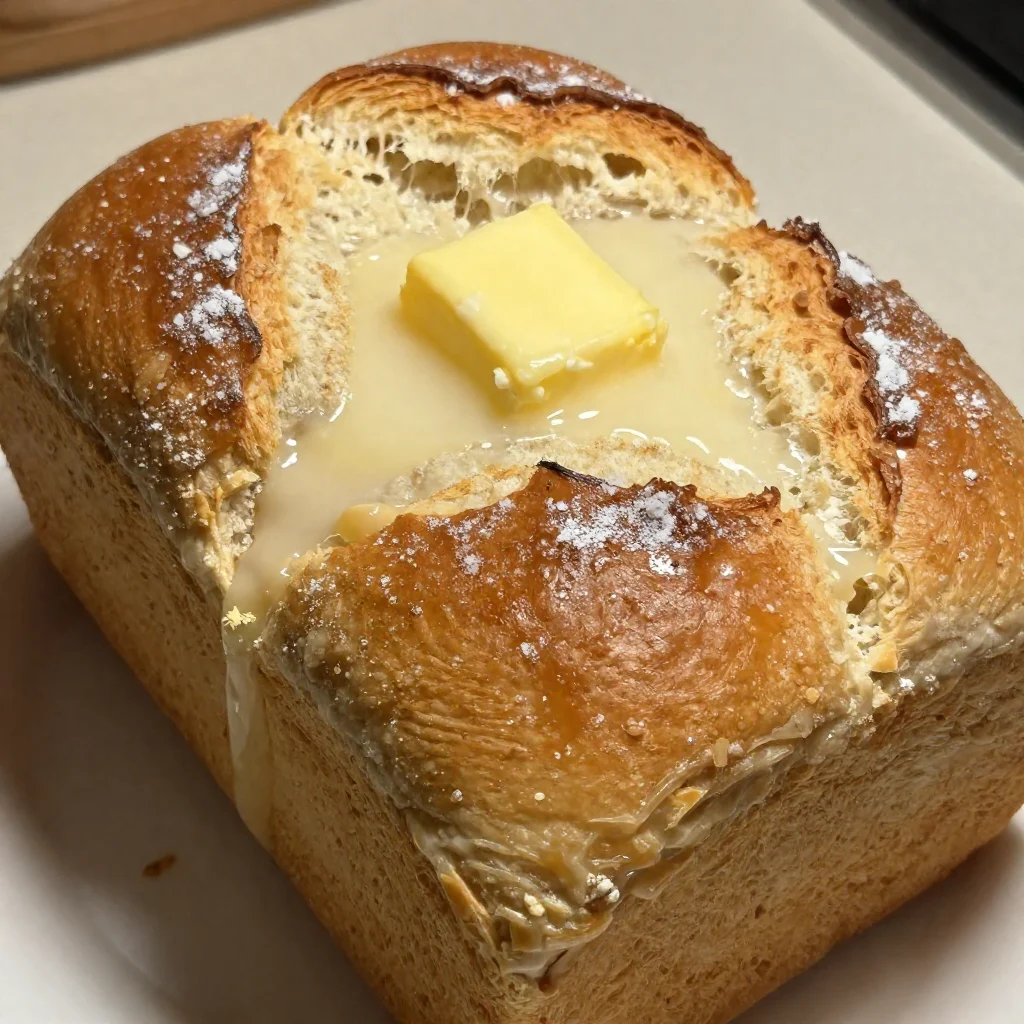
This Condensed Milk Bread is incredibly versatile. For breakfast, I love it toasted with salted butter and a drizzle of honey. The combination of sweet bread, rich butter, and floral honey is absolutely heavenly. It also makes outstanding French toast—the already-sweet bread caramelizes beautifully in the pan.
For lunch, use thick slices to make upgraded sandwiches. The subtle sweetness pairs wonderfully with savory fillings like turkey, bacon, avocado, or even grilled cheese. I’ve made BLTs on this Condensed Milk Bread that people still talk about months later.
As a snack, serve it alongside tea or coffee. The soft, slightly sweet crumb is perfect for dunking. I also serve it with soup—the hint of sweetness complements tomato soup particularly well.
For dessert, try it as a base for bread pudding or use it to make ice cream sandwiches. You can also toast slices and top them with fresh berries and whipped cream for a simple but elegant treat. Honestly, this bread works with just about anything.
FAQs
Can I make Condensed Milk Bread without a stand mixer?
Absolutely! I actually prefer making this Condensed Milk Bread by hand. The dough is soft and pleasant to work with.
Just knead it on a lightly floured surface for 8-10 minutes until it becomes smooth and elastic. You’ll know it’s ready when you can stretch a small piece thin enough to see light through it without it tearing—bakers call this the “windowpane test.”
Why is my Condensed Milk Bread dense?
Dense bread usually means the dough didn’t rise enough. Make sure your yeast is fresh and your rising environment is warm. Also, don’t add too much flour during kneading—the dough should be soft and slightly tacky.
Finally, ensure you’re giving the dough enough time for both rises. Rushing this process results in dense, heavy bread.
Can I use evaporated milk instead of condensed milk?
They’re not interchangeable in this recipe. Condensed milk is thick and very sweet, which creates the signature texture and flavor of this Condensed Milk Bread. Evaporated milk is just concentrated milk without added sugar. If you substitute it, you’ll need to add sugar separately and the texture won’t be quite the same.
How do I know when the bread is fully baked?
The most reliable method is checking the internal temperature with an instant-read thermometer. It should read 190-200°F in the center. Visually, the top should be deep golden brown and the loaf should sound hollow when you tap the bottom. If you’re unsure, err on the side of baking a bit longer—underbaked Condensed Milk Bread will have a gummy texture.
Can I make this recipe into rolls instead of a loaf?
Definitely! After the first rise, divide the dough into 12 equal pieces and shape them into balls. Place them in a greased 9×13-inch pan, leaving a little space between each.
Let them rise until puffy and touching, then bake at 350°F for 20-25 minutes. These Condensed Milk Bread rolls are perfect for dinner parties or holiday meals.
Nutrition Information (Per Serving)
This recipe makes one loaf with approximately 12 slices. Here’s the nutritional breakdown per slice:
| Nutrient | Amount |
|---|---|
| Calories | 215 |
| Total Fat | 6g |
| Saturated Fat | 3.5g |
| Cholesterol | 35mg |
| Sodium | 220mg |
| Total Carbohydrates | 34g |
| Dietary Fiber | 1g |
| Sugars | 10g |
| Protein | 6g |
This Condensed Milk Bread is moderately indulgent but not excessively so. The condensed milk adds calories and sugar, but it also contributes protein and calcium. Enjoy it as part of a balanced diet, and remember that homemade bread without preservatives or additives is always a better choice than store-bought options. Plus, the satisfaction of baking your own bread is worth every calorie.
Condensed Milk Bread
Ingredients
Method
- Step 1: Activate the yeast by combining warm milk and yeast in a small bowl. Let it sit for about 5 minutes until foamy.
- Step 2: Mix the wet ingredients in a large bowl by whisking together condensed milk, softened butter, and egg until smooth. Add the activated yeast mixture and stir.
- Step 3: Add the dry ingredients by mixing flour and salt into the wet mixture until a shaggy dough forms.
- Step 4: Knead the dough on a floured surface for 8-10 minutes until smooth and elastic.
- Step 5: Place the dough in a greased bowl, cover, and let it rise in a warm spot until doubled in size, about 1 to 1½ hours.
- Step 6: Punch down the dough, shape it into a loaf, and place it seam-side down in a greased loaf pan.
- Step 7: Cover and let it rise again until it crowns above the pan rim, about 45 minutes to an hour.
- Step 8: Preheat the oven to 350°F, brush the loaf with egg wash, and bake for 30-35 minutes until golden brown and the internal temperature reaches 190°F.
- Step 9: Cool the bread in the pan for 10 minutes, then turn it out onto a wire rack to cool completely.