No Knead Bread
The first time I made No Knead Bread, I couldn’t believe how something so simple could taste so professional. I was skeptical—no kneading, minimal effort, and yet everyone promised bakery-quality results. But after pulling that first golden, crackling loaf from my Dutch oven, I understood the hype completely.
This No Knead Bread recipe changed how I think about homemade bread. It’s forgiving, beautiful, and honestly tastes better than most artisan loaves you’d pay serious money for at a bakery. Whether you’re a first-time bread baker or someone who’s intimidated by yeast, this recipe will make you feel like an absolute genius in the kitchen.
Why You’ll Love This No Knead Bread Recipe
This No Knead Bread delivers crusty, golden perfection without any of the usual fuss. You don’t need a stand mixer, hours of kneading, or even much active time. Instead, you let time do the work for you.
The long, slow fermentation develops incredible flavor and creates those beautiful open holes inside the crumb. Plus, the crust shatters when you slice into it, just like bread from a professional bakery.
I love this recipe because it’s honestly foolproof. You mix four simple ingredients in a bowl, walk away, and return to find dough that’s ready to bake. Even better, the No Knead Bread method is flexible.
If you need to adjust timing, you can slow down the rise in the fridge or speed things up slightly in a warmer spot. It fits into your schedule instead of demanding you rearrange your entire day.
The flavor is outstanding too. That long fermentation creates a slightly tangy, complex taste that you just can’t rush. And the texture?
Chewy, airy crumb with a crust that crackles under your knife. It’s the kind of bread that makes butter taste like a luxury.
Ingredients You’ll Need
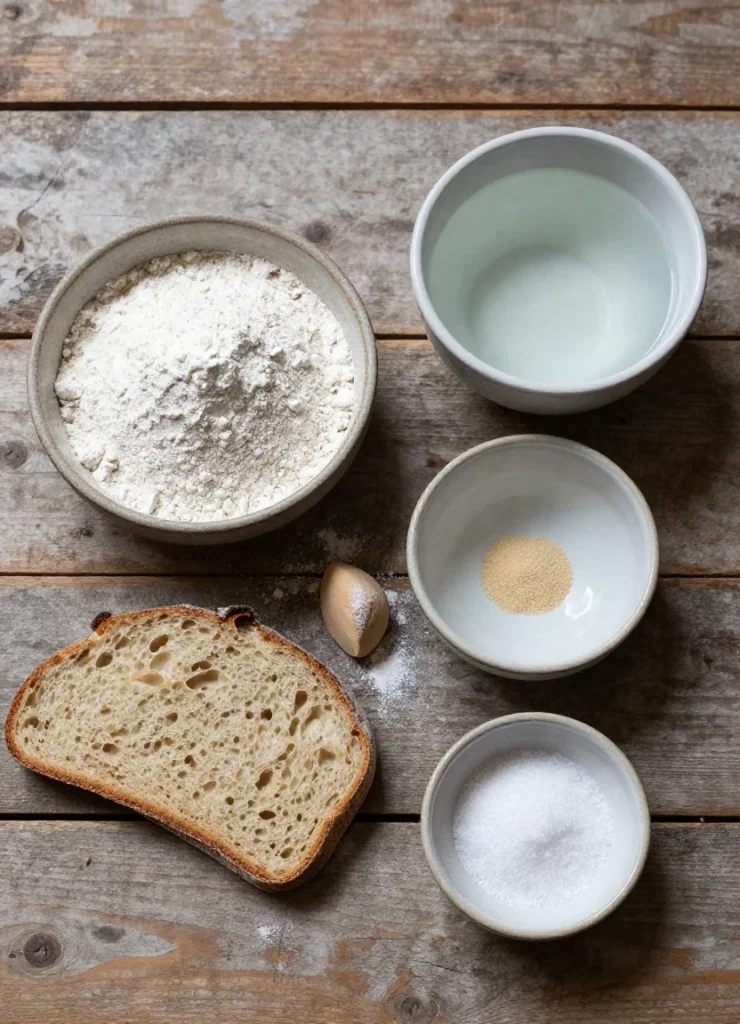
This No Knead Bread recipe uses just four pantry staples. Seriously, that’s it. The magic happens through time and technique, not a long ingredient list.
| Ingredient | Amount |
|---|---|
| All-purpose flour | 3 cups (400g) |
| Warm water | 1½ cups (360ml) |
| Instant yeast | ¼ teaspoon |
| Salt | 1½ teaspoons |
The small amount of yeast surprises most people. You really do only need a quarter teaspoon. That tiny amount works slowly over 12-18 hours, developing all that flavor and structure. The salt enhances everything, and the water hydrates the flour completely without any kneading required.
Substitutions & Variations
You can easily customize your No Knead Bread once you’ve mastered the basic version. I often swap one cup of all-purpose flour for whole wheat flour, which adds a nutty depth. Just know that whole wheat absorbs more water, so you might need an extra tablespoon or two of liquid.
For a seeded No Knead Bread, fold in ¼ cup of sunflower seeds, pumpkin seeds, or sesame seeds during the initial mix. Fresh or dried herbs work beautifully too—rosemary and thyme are my favorites. You can also add a handful of grated cheese for a savory twist.
If you prefer bread flour, go ahead and use it. Your No Knead Bread will have slightly more chew and structure. Active dry yeast works as well, though I’d use ½ teaspoon instead of ¼ teaspoon since it’s less potent than instant yeast.
Step-by-Step Instructions
Making No Knead Bread truly couldn’t be simpler. The hardest part is waiting, and that’s barely even work.
Step 1: Combine the flour, yeast, and salt in a large bowl. Stir everything together with a wooden spoon. Add the warm water and mix until you see no dry flour streaks.
The dough will look shaggy and sticky—that’s exactly right. Don’t worry about making it smooth.
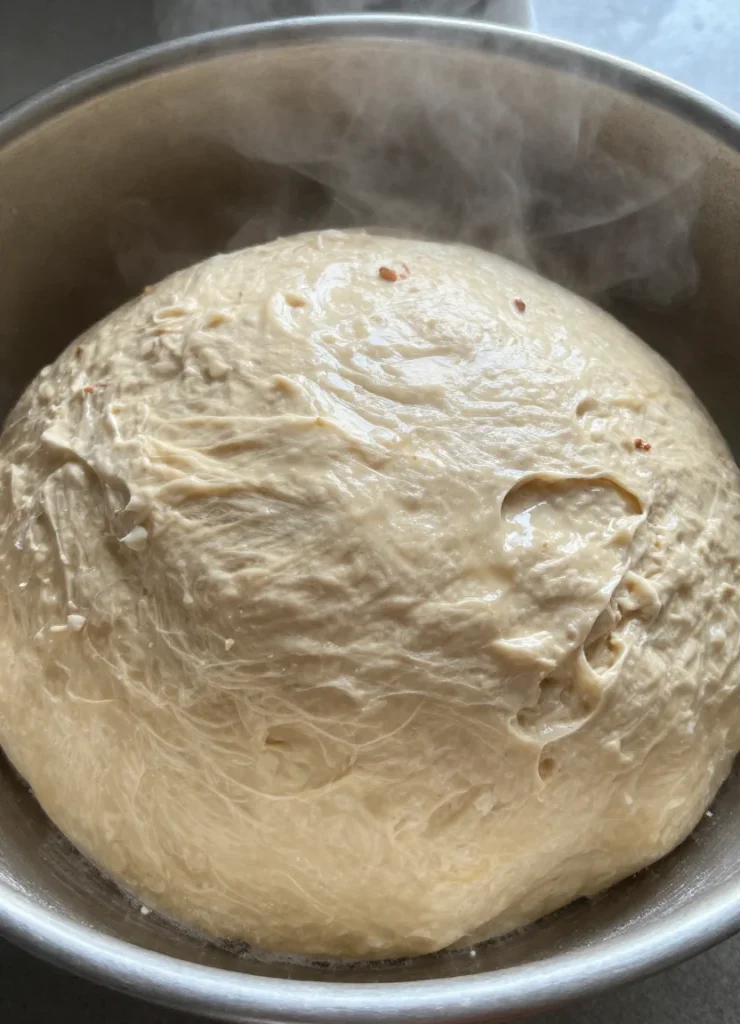
Step 2: Cover the bowl tightly with plastic wrap or a damp kitchen towel. Let the No Knead Bread dough rest at room temperature for 12-18 hours. I usually mix mine before bed and bake the next evening. You’ll know it’s ready when the surface is dotted with bubbles and the dough has more than doubled in size.
Step 3: After the long rise, generously flour a work surface. Turn the dough out—it’ll be sticky and loose. Flour your hands and gently shape the dough into a ball by folding the edges toward the center. Don’t overwork it.
Step 4: Place the shaped dough seam-side down on a piece of parchment paper. Cover it loosely with that same towel and let it rest for another 1-2 hours. Meanwhile, place your Dutch oven (with the lid on) into your oven and preheat everything to 450°F (230°C) for at least 30 minutes.
Step 5: Carefully remove the screaming-hot Dutch oven from your oven. Use the parchment paper to lift your No Knead Bread dough and lower it into the pot. Cover with the lid immediately.
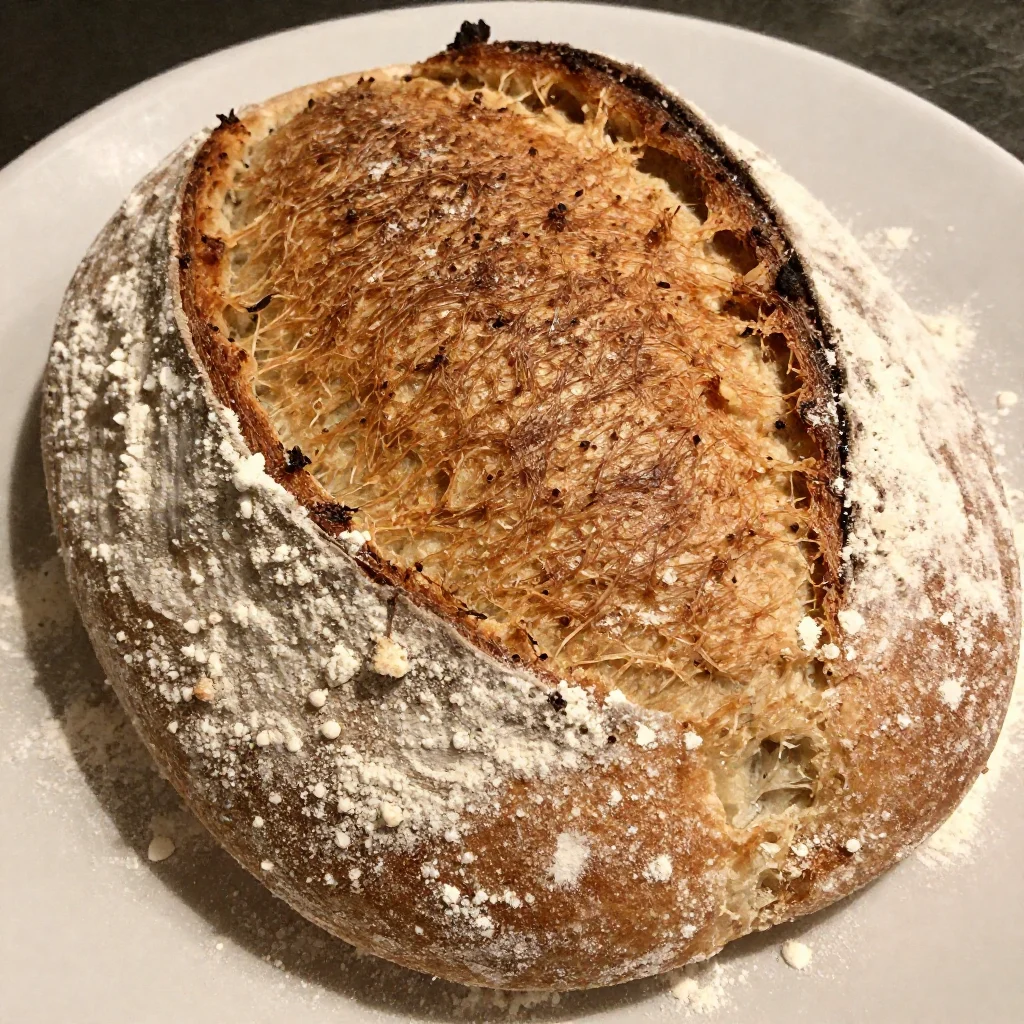
Step 6: Bake covered for 30 minutes. Then remove the lid and bake for another 15-20 minutes until the crust turns deep golden brown. The internal temperature should reach about 210°F (99°C) if you want to check with a thermometer.
Step 7: Lift the bread out using the parchment paper and transfer it to a wire rack. Let your No Knead Bread cool for at least 30 minutes before slicing. I know it’s torture to wait, but cutting too early releases all that steam and makes the interior gummy.
Pro Tips for Success
Temperature matters more than you’d think with No Knead Bread. If your kitchen is cold, the rise will take longer—sometimes up to 24 hours. That’s fine.
Conversely, a warm kitchen speeds things up. Just watch the dough, not the clock.
Don’t skip preheating the Dutch oven. That blast of heat creates steam, which gives you that incredible crispy crust. I’ve tried baking No Knead Bread without preheating, and the crust never develops the same way.
Flour your hands generously when shaping. This dough is meant to be sticky. Fighting it or adding too much flour during mixing will make your bread dense. Embrace the stickiness and use flour only on surfaces and hands during shaping.
Use parchment paper for easy transfer. Trying to drop wet dough into a blazing hot pot is risky. The parchment acts as a safety sling and peels right off after baking.
Let your No Knead Bread cool completely before storing. Trapping steam in a bag or container makes the crust soft and sad. Patience pays off here.
Storage & Reheating Tips
Store your No Knead Bread at room temperature, wrapped in a clean kitchen towel or paper bag. Plastic makes the crust soft, which defeats the whole point of that beautiful crackly exterior. The bread stays fresh for 2-3 days this way.
For longer storage, slice and freeze your No Knead Bread in a freezer bag for up to three months. I pull out individual slices and toast them straight from frozen. They taste incredible.
To refresh the crust, sprinkle the loaf lightly with water and warm it in a 350°F (175°C) oven for about 10 minutes. The crust crisps back up beautifully, and the inside gets warm and soft again.
What to Serve With This Recipe

This No Knead Bread shines alongside so many dishes. I love serving it with a big pot of soup—especially tomato soup, minestrone, or French onion. The bread soaks up every drop without falling apart.
It’s also perfect for building sandwiches. The sturdy crumb holds up to wet fillings, and the crust adds serious texture. Try it with roasted vegetables, fresh mozzarella, and pesto. Or make it the star of a cheese and charcuterie board.
For breakfast, toast thick slices of your No Knead Bread and top them with mashed avocado, ricotta and honey, or simply good butter and jam. The slightly tangy flavor works with both sweet and savory toppings.
I also tear off chunks to serve with olive oil and balsamic vinegar as an appetizer. Guests always think I spent hours in the kitchen, and I just smile and accept the compliments.
FAQs
Can I make No Knead Bread without a Dutch oven?
Yes, though the Dutch oven truly gives the best results. You can bake No Knead Bread on a baking sheet, but place a shallow pan of water on the bottom oven rack to create steam. The crust won’t be quite as dramatic, but it’ll still taste great.
Why is my No Knead Bread dough so sticky?
High hydration dough is supposed to be very sticky. That’s what creates the open, airy crumb. Resist adding extra flour during mixing. Just flour your hands and surfaces generously when shaping.
Can I speed up the rising time for No Knead Bread?
Not really without sacrificing flavor. The long fermentation is what makes this bread special. However, you can place the dough in a slightly warm spot to shave off an hour or two if needed.
How do I know when my No Knead Bread is fully baked?
The crust should be deep golden brown, and the bread should sound hollow when you tap the bottom. An instant-read thermometer should register around 210°F (99°C) in the center.
Can I add mix-ins to No Knead Bread?
Absolutely. Fold in dried fruits, nuts, seeds, herbs, or cheese after the initial mix. Keep add-ins to about one cup total so they don’t interfere with the dough structure.
Nutrition Information (per serving)
Based on 10 servings per loaf:
| Nutrient | Amount |
|---|---|
| Calories | 160 |
| Total Fat | 0.5g |
| Carbohydrates | 33g |
| Fiber | 1g |
| Protein | 5g |
| Sodium | 350mg |
This No Knead Bread recipe has become my go-to whenever I want impressive homemade bread without the work. It’s the recipe I share with friends who say they can’t bake, and it’s the one that always converts them. Give it a try, and I promise you’ll be hooked after that very first crackly, golden loaf comes out of your oven.