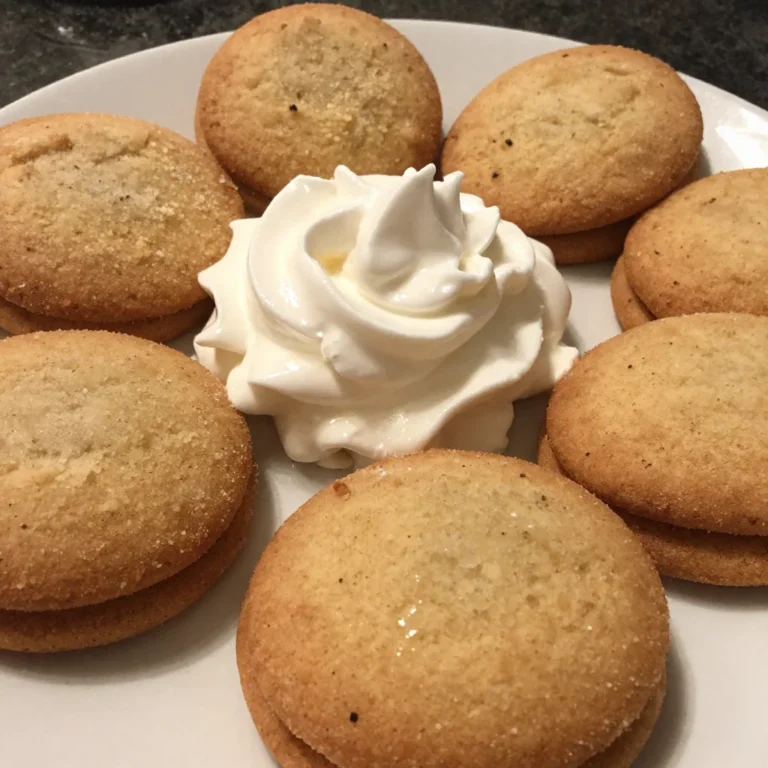
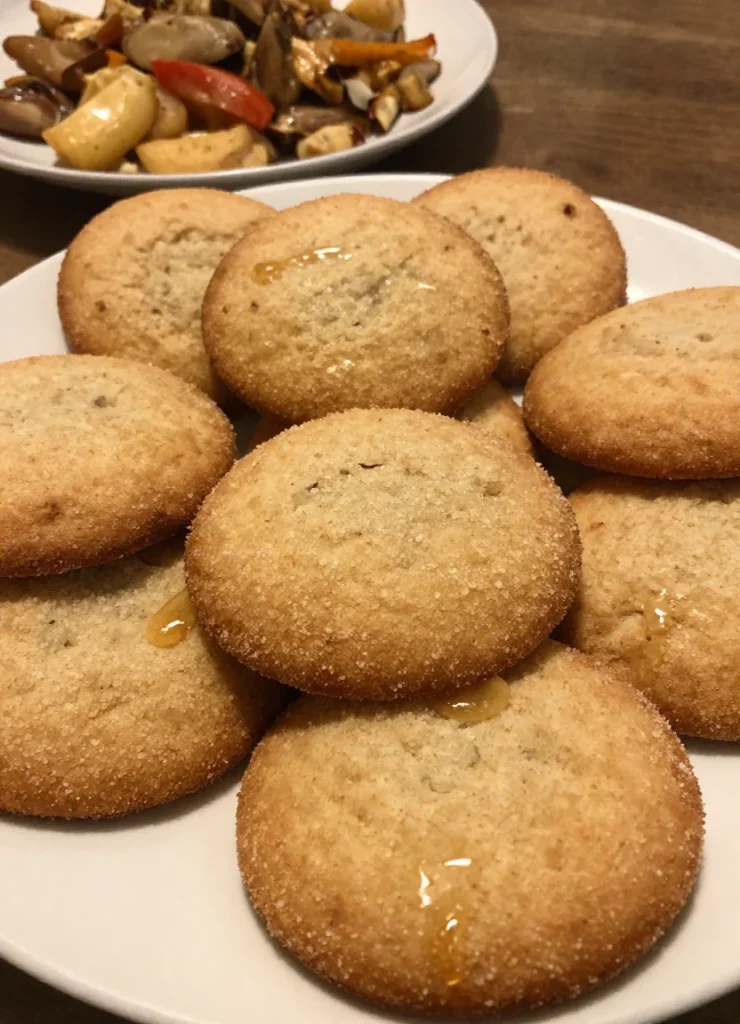
Professional Sugar Cookies
Growing up as the youngest of three chef brothers, I learned early on that professional sugar cookies aren’t just a holiday tradition—they’re an art form. My brothers used to tease me when I’d spend hours perfecting the dough temperature and chill time, but once they tasted these professional sugar cookies, the teasing stopped. These cookies strike that perfect balance between crisp edges and tender centers, with a buttery flavor that makes store-bought versions taste like cardboard.
What sets professional sugar cookies apart is the technique: proper creaming, exact measurements, and patience during chilling. I’ve spent years refining this recipe, and now I’m sharing every secret with you. Whether you’re decorating these professional sugar cookies for a wedding, holidays, or just because, this recipe delivers bakery-quality results every single time.
Why You’ll Love These Professional Sugar Cookies
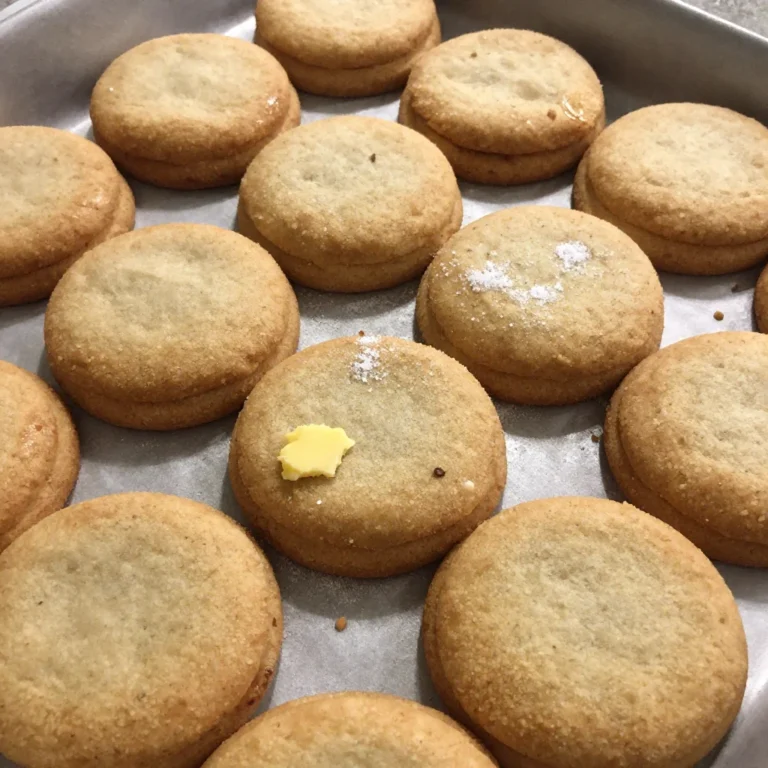
These professional sugar cookies hold their shape beautifully during baking. You won’t see any spreading or puffing that ruins your carefully cut designs. The texture is everything you want: crisp enough to stack and decorate, yet tender enough to bite through without crumbling everywhere. Plus, the flavor speaks for itself—real butter, vanilla, and just the right amount of sweetness create that classic taste you remember from the best bakeries.
Another reason to love this recipe? It’s actually manageable at home. I’ve removed all the guesswork and simplified the professional techniques.
You don’t need fancy equipment or culinary school training. Just follow my clear instructions, and you’ll produce professional sugar cookies that look and taste like they came from an upscale bakery.
The dough also handles like a dream. It rolls out smoothly without sticking, cuts cleanly, and transfers to the baking sheet without tearing. I’ve tested this recipe dozens of times to ensure it works perfectly every time.
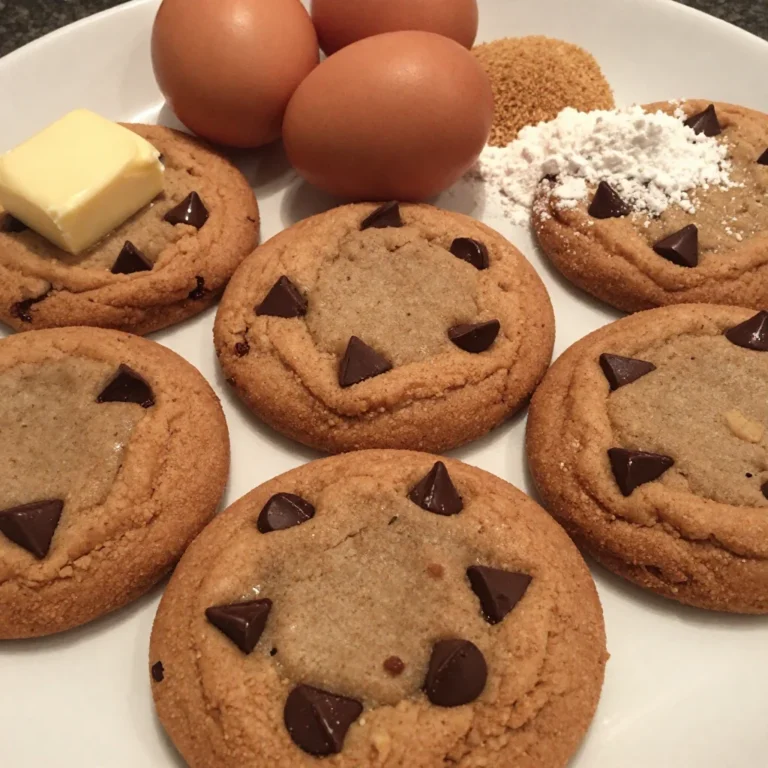
Ingredients You’ll Need
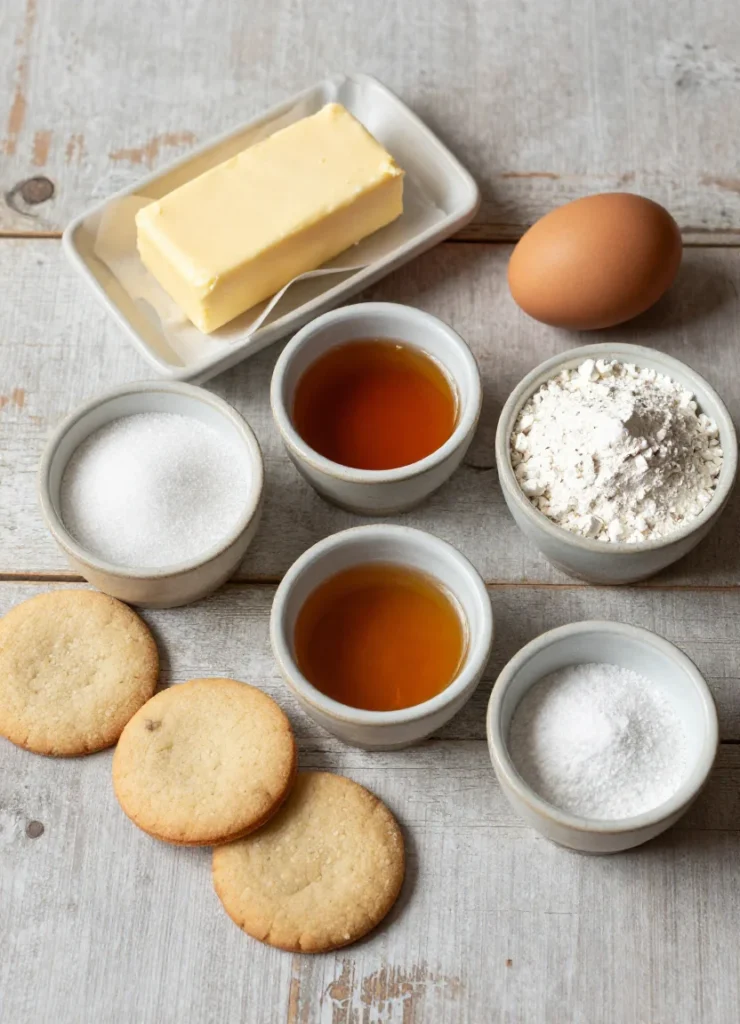
Quality ingredients make all the difference in professional sugar cookies. Here’s exactly what you need:
| Ingredient | Amount | Notes |
|---|---|---|
| Unsalted butter | 1 cup (2 sticks) | Room temperature, not melted |
| Granulated sugar | 1 cup | Regular white sugar works best |
| Large egg | 1 | Room temperature |
| Pure vanilla extract | 2 teaspoons | Skip imitation vanilla |
| Almond extract | 1/2 teaspoon | Optional but recommended |
| All-purpose flour | 3 cups | Spoon and level method |
| Baking powder | 1 teaspoon | Fresh, not expired |
| Salt | 1/2 teaspoon | Fine sea salt preferred |
Each ingredient plays a critical role in creating professional sugar cookies. The butter provides richness and structure. The ratio of sugar to flour creates the perfect texture. The small amount of baking powder gives just a hint of lift without causing spreading.
Substitutions & Variations
While I recommend following the recipe exactly for true professional sugar cookies, here are some modifications that work:
Flavor variations: Replace the almond extract with lemon extract or add one tablespoon of lemon zest for citrus professional sugar cookies. You can also try orange zest or peppermint extract during the holidays.
Gluten-free option: Use a 1:1 gluten-free baking flour blend. The texture won’t be identical to traditional professional sugar cookies, but it comes remarkably close.
Dairy-free version: Substitute the butter with high-quality vegan butter. Make sure it’s the stick form, not the spreadable kind, for proper structure in your professional sugar cookies.
Egg substitute: Use one large egg yolk plus one tablespoon of milk if you don’t have a whole egg. This actually creates an even more tender cookie.
Step-by-Step Instructions
Making professional sugar cookies requires attention to detail, but I’ll walk you through each step clearly.
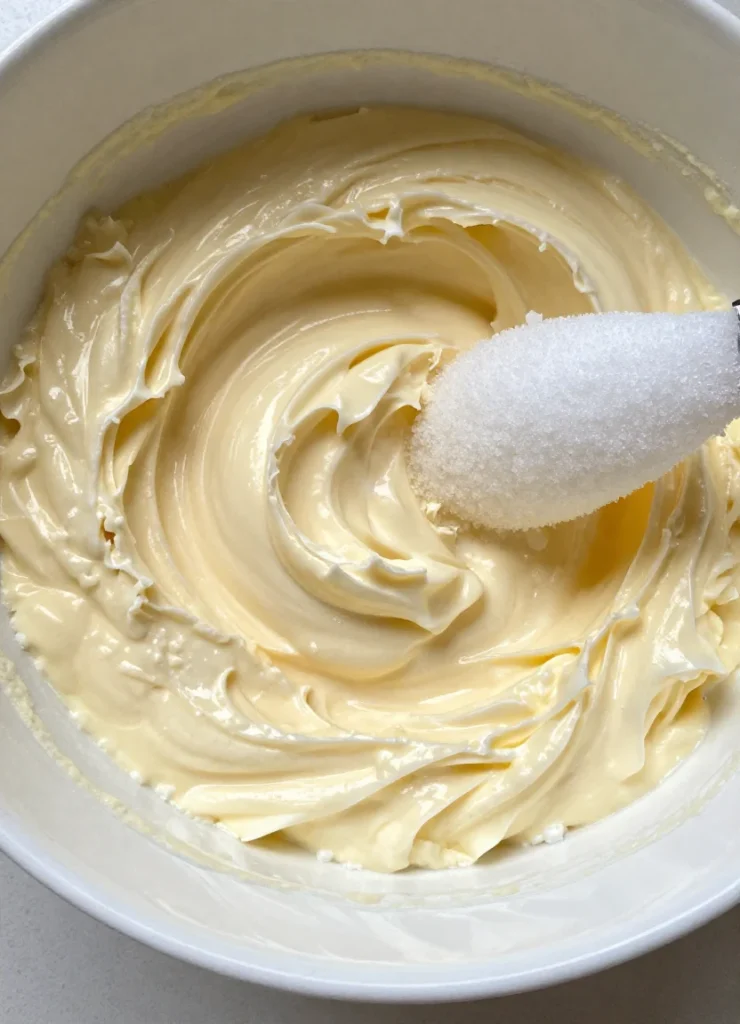
Step 1: Cream the butter and sugar in a large bowl using an electric mixer on medium speed. Beat for 3-4 minutes until the mixture looks light and fluffy. This incorporates air and creates the tender texture that defines professional sugar cookies.
Step 2: Add the egg, vanilla extract, and almond extract. Beat until completely combined, scraping down the bowl sides as needed. The mixture should look smooth and cohesive.
Step 3: In a separate bowl, whisk together the flour, baking powder, and salt. This ensures even distribution of the leavening agent throughout your professional sugar cookies.
Step 4: Add the dry ingredients to the wet ingredients in two additions. Mix on low speed just until the dough comes together. Don’t overmix, or you’ll develop too much gluten and create tough professional sugar cookies.
Step 5: Divide the dough in half and shape each portion into a flat disk. Wrap tightly in plastic wrap. Refrigerate for at least 2 hours or up to 3 days. This chilling step is non-negotiable for professional sugar cookies that hold their shape.
Step 6: Preheat your oven to 350°F. Line baking sheets with parchment paper or silicone baking mats.
Step 7: Remove one dough disk from the refrigerator. Let it sit at room temperature for 5 minutes to make rolling easier. Roll out the dough on a lightly floured surface to 1/4-inch thickness. Use a ruler if you want perfect professional sugar cookies.
Step 8: Cut shapes using cookie cutters. Transfer carefully to prepared baking sheets, spacing them about 2 inches apart. These professional sugar cookies don’t spread much, but they need a little breathing room.
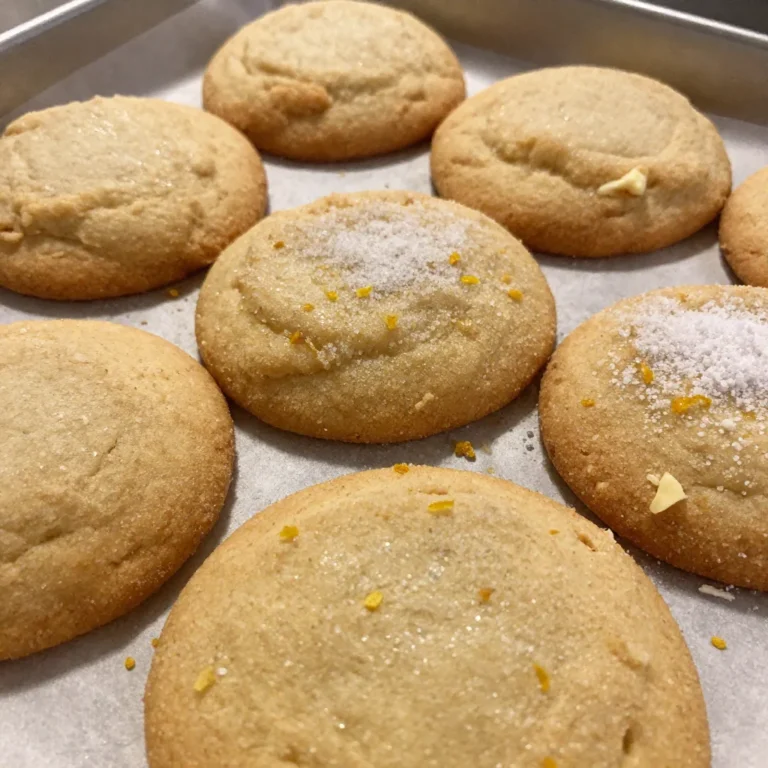
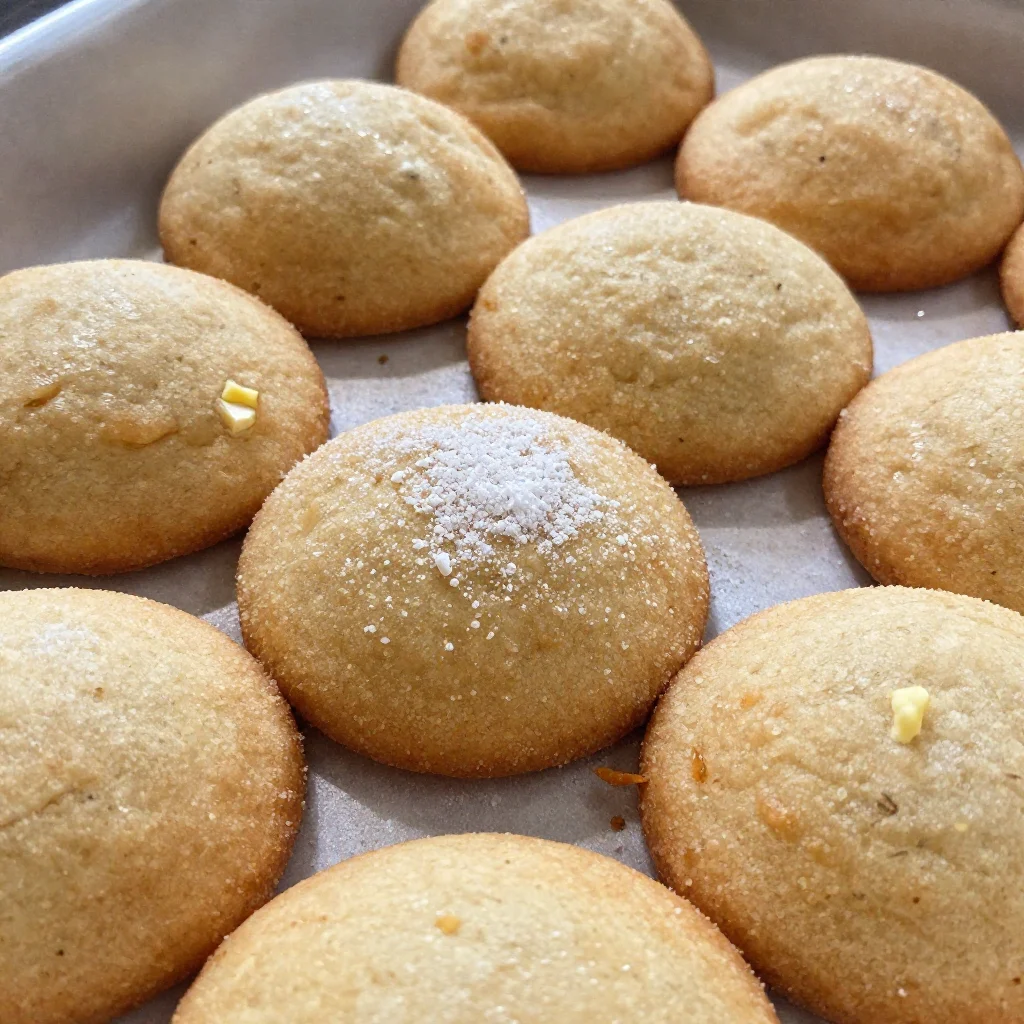
Step 9: Bake for 8-10 minutes. The edges should look set, but the centers might appear slightly underdone. That’s perfect! Professional sugar cookies continue baking on the hot pan after you remove them from the oven.
Step 10: Let the cookies cool on the baking sheet for 5 minutes, then transfer to a wire rack to cool completely before decorating.
Pro Tips for Success
After making thousands of professional sugar cookies, I’ve learned these tricks:
Temperature matters: Keep your dough cold. If it warms up while rolling, pop it back in the refrigerator for 10 minutes. Warm dough creates spread and misshapen professional sugar cookies.
Measure flour correctly: Spoon flour into your measuring cup and level it off with a knife. Scooping directly from the bag packs in too much flour, making dry, crumbly professional sugar cookies.
Don’t overbake: These professional sugar cookies look underdone when perfect. They firm up as they cool. Overbaking creates hard, crunchy cookies instead of tender ones.
Use parchment paper: It prevents sticking and ensures even browning on your professional sugar cookies.
Chill scraps: When you re-roll dough scraps, chill them again for 15 minutes first. This maintains the quality of your professional sugar cookies through multiple rolling sessions.
Rotate baking sheets: Halfway through baking, rotate the sheet front to back for even coloring on all your professional sugar cookies.
Storage & Reheating Tips
Proper storage keeps your professional sugar cookies fresh and delicious.
Room temperature: Store undecorated professional sugar cookies in an airtight container at room temperature for up to one week. Place parchment paper between layers to prevent sticking.
Freezing unbaked dough: Wrap dough disks tightly in plastic wrap, then place in a freezer bag. Freeze for up to 3 months. Thaw overnight in the refrigerator before rolling.
Freezing baked cookies: Once completely cool, layer professional sugar cookies between parchment paper in a freezer-safe container. Freeze for up to 3 months. Thaw at room temperature for 30 minutes before serving or decorating.
Decorated cookies: If you’ve added royal icing, wait until the icing fully hardens (usually 24 hours) before storing. Keep decorated professional sugar cookies in a single layer in airtight containers for up to 5 days.
What to Serve With This Recipe
Professional sugar cookies shine on their own, but they also complement many beverages and desserts.
Pair these professional sugar cookies with hot coffee for a classic afternoon break. The buttery sweetness balances beautifully with a bold espresso or smooth latte. Tea lovers should try them with Earl Grey or chamomile.
For kids’ parties, serve professional sugar cookies alongside cold milk or hot chocolate. The combination never fails to bring smiles.
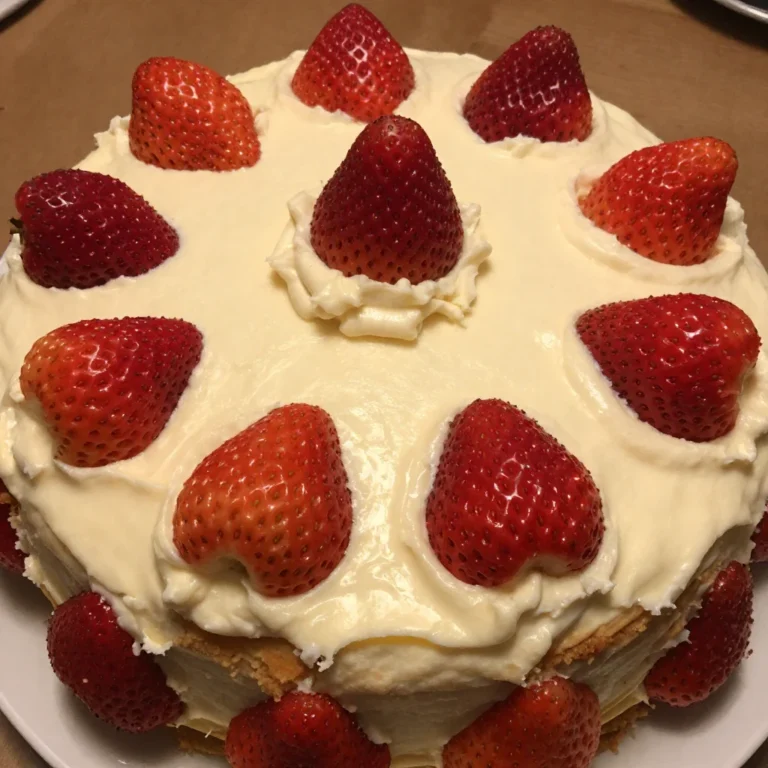
Create a dessert platter by arranging decorated professional sugar cookies with brownies, lemon bars, and chocolate truffles. The variety gives guests options while showcasing your baking skills.
During holidays, professional sugar cookies work wonderfully as part of a cookie exchange. Their beautiful appearance and reliable texture make them a favorite among home bakers and recipients alike.
FAQs
Why do my sugar cookies spread during baking?
Cookie spreading happens when the dough is too warm or contains too much butter. Make sure you chill your professional sugar cookies dough for the full 2 hours. Also, check that your butter was properly measured and at room temperature, not melted, when you started.
Can I make sugar cookie dough ahead of time?
Absolutely! Professional sugar cookies dough actually improves with time. You can refrigerate it for up to 3 days or freeze it for up to 3 months. The resting time allows the flour to fully hydrate, creating even better texture in your finished professional sugar cookies.
What’s the best way to decorate sugar cookies?
Royal icing works best for decorating professional sugar cookies because it dries hard and smooth. You can also use buttercream frosting for a softer finish. Make sure your professional sugar cookies are completely cool before decorating, or the icing will melt.
How thick should I roll sugar cookie dough?
Roll professional sugar cookies dough to exactly 1/4-inch thickness. Thicker cookies take longer to bake and may have doughy centers. Thinner cookies become too crispy and break easily. Use rolling pin rings or guides for consistent thickness across all your professional sugar cookies.
Why are my sugar cookies hard instead of soft?
Hard cookies result from overbaking or too much flour. Remove professional sugar cookies from the oven when the edges just begin to set but centers still look slightly underdone. Also, verify you’re measuring flour correctly by spooning it into the measuring cup rather than scooping.
Nutrition Information (per serving)
Based on approximately 24 cookies:
| Nutrient | Amount |
|---|---|
| Calories | 145 |
| Total Fat | 8g |
| Saturated Fat | 5g |
| Cholesterol | 28mg |
| Sodium | 85mg |
| Total Carbohydrates | 17g |
| Sugars | 8g |
| Protein | 2g |
These professional sugar cookies provide a satisfying treat without excessive calories. The real butter contributes to the fat content but also delivers superior flavor and texture. Enjoy these professional sugar cookies as part of a balanced diet, savoring each bite of your homemade creation.
Professional Sugar Cookies
Ingredients
Method
- Cream the butter and sugar in a large bowl using an electric mixer on medium speed for 3-4 minutes until light and fluffy.
- Add the egg, vanilla extract, and almond extract, and beat until combined.
- In a separate bowl, whisk together the flour, baking powder, and salt.
- Add the dry ingredients to the wet ingredients in two additions, mixing on low speed until the dough comes together.
- Divide the dough in half, shape into disks, wrap in plastic wrap, and refrigerate for at least 2 hours.
- Preheat the oven to 350°F and line baking sheets with parchment paper.
- Remove one dough disk from the refrigerator, let sit for 5 minutes, then roll out to 1/4-inch thickness.
- Cut shapes using cookie cutters and transfer to baking sheets, spacing them 2 inches apart.
- Bake for 8-10 minutes until edges are set but centers appear slightly underdone.
- Cool on the baking sheet for 5 minutes before transferring to a wire rack to cool completely.