Classic Ensaymada
I still remember the first time I walked into a Filipino bakery in Queens. The buttery aroma hit me immediately, and there they were—golden, spiraled buns topped with butter and cheese. My friend Maria handed me a warm Classic Ensaymada, and honestly, I understood right then why people drive across town for these.
That soft, brioche-like texture paired with salty-sweet toppings became something I couldn’t stop thinking about. Eventually, I had to recreate it at home, and after testing this recipe probably fifteen times with Theodore and James, we nailed it. Now, making Classic Ensaymada has become one of those weekend rituals in our test kitchen that brings back that same excitement I felt in Queens.
Classic Ensaymada represents Filipino baking at its finest—rich, tender, and unapologetically indulgent. These spiral-shaped sweet rolls originally came from Spanish ensaimadas but evolved into something uniquely Filipino with their generous butter and cheese topping. While they might look intimidating, I promise you can absolutely make these at home. The dough is forgiving, the technique is straightforward, and the results will make you look like a baking genius.
Why You’ll Love This Classic Ensaymada Recipe
First off, this Classic Ensaymada recipe delivers that authentic bakery texture—soft, pillowy, and practically melting on your tongue. Unlike store-bought versions that sometimes taste dry or overly sweet, homemade Classic Ensaymada gives you complete control over the sweetness and butter ratio.
Additionally, these buns stay incredibly soft for days. The enriched dough, loaded with butter, eggs, and milk, creates a tender crumb that doesn’t dry out quickly. I’ve had leftover Classic Ensaymada stay fresh for nearly four days in an airtight container, which rarely happens because my brothers devour them first.
Moreover, making Classic Ensaymada at home costs a fraction of what you’d pay at a specialty bakery. You’re using simple pantry ingredients transformed through technique and time into something extraordinary. Plus, your kitchen will smell absolutely incredible while these bake.
Finally, this recipe works beautifully for both special occasions and casual weekend baking. I’ve made Classic Ensaymada for holiday gatherings, Sunday brunches, and simply because Thursday felt like it needed something special.
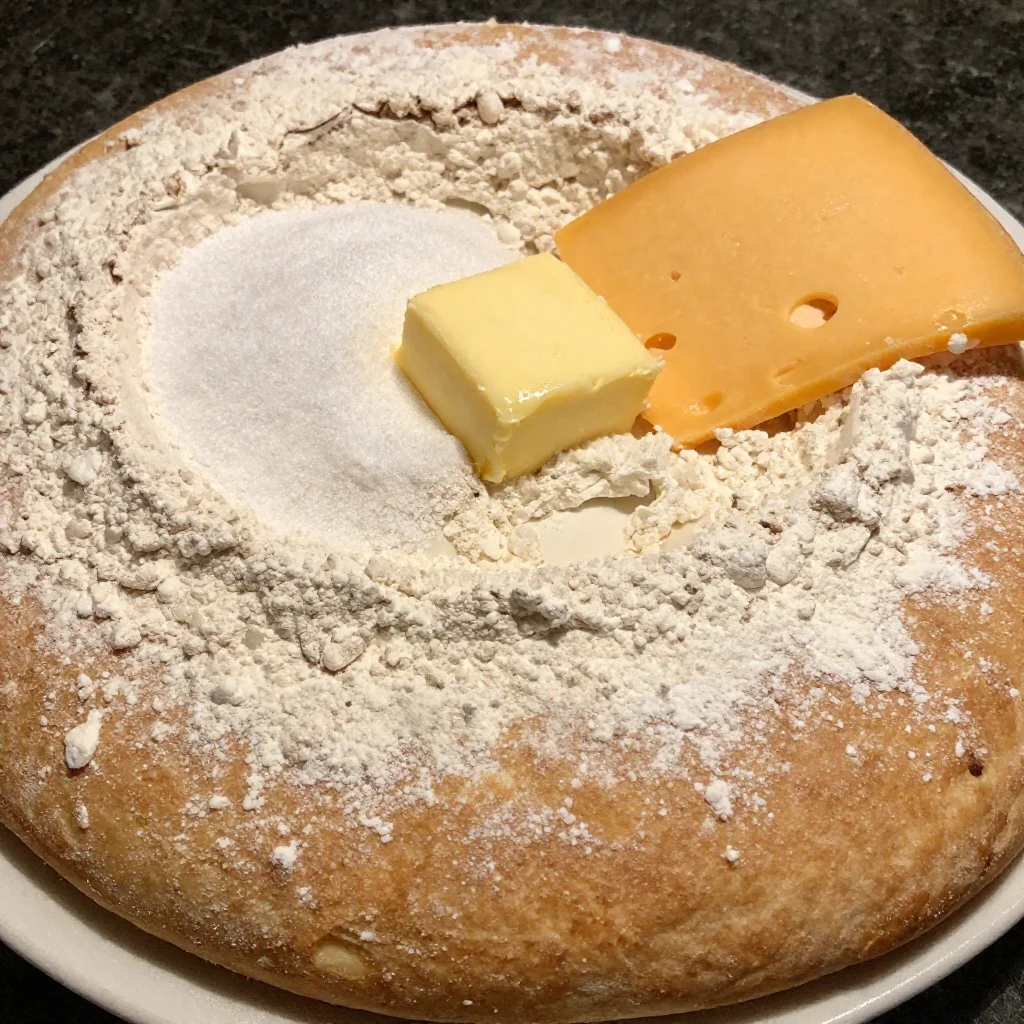
Ingredients You’ll Need
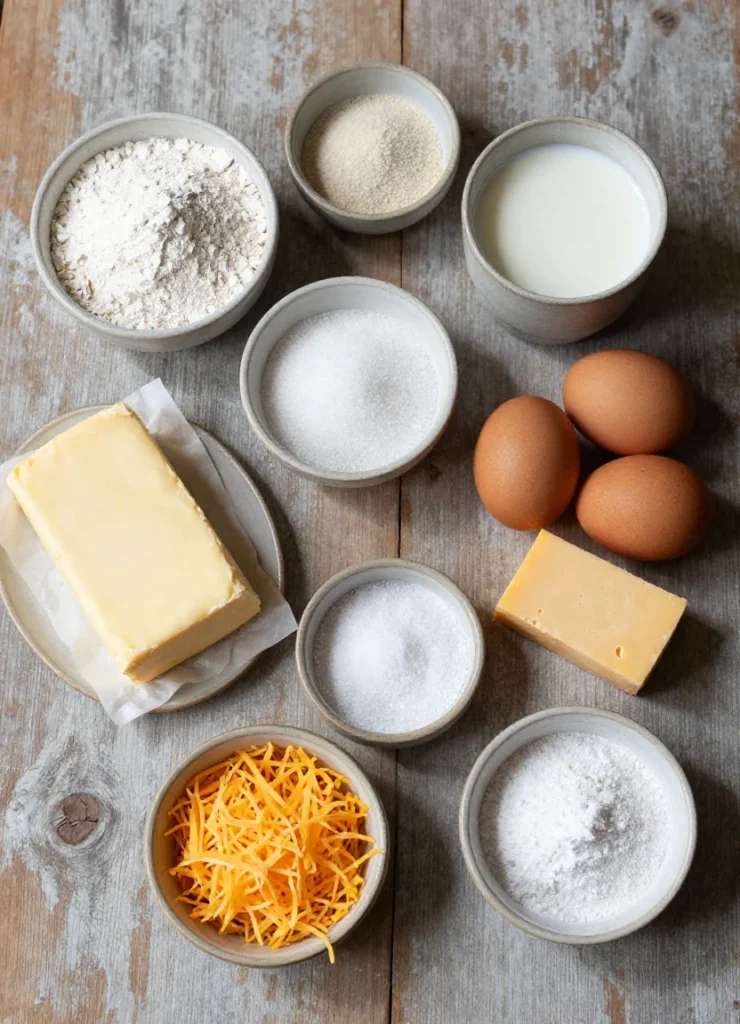
The beauty of Classic Ensaymada lies in its relatively simple ingredient list. However, quality matters here—especially with the butter. Let me break down what you’ll need:
| Ingredient | Amount | Notes |
|---|---|---|
| All-purpose flour | 4 cups | Spoon and level for accuracy |
| Active dry yeast | 2 1/4 teaspoons | One standard packet |
| Whole milk | 3/4 cup | Warmed to 110°F |
| Granulated sugar | 1/2 cup | Divided |
| Eggs | 4 large | Room temperature |
| Unsalted butter | 1 cup | Softened, plus extra for topping |
| Salt | 1 teaspoon | Fine sea salt works best |
| Cheddar cheese | 1 cup | Finely grated, for topping |
| Powdered sugar | 1/2 cup | For dusting |
For authentic Classic Ensaymada, I strongly recommend using real butter rather than margarine. The flavor difference is remarkable. Similarly, freshly grated cheddar cheese melts and adheres better than pre-shredded varieties.
Substitutions & Variations
While traditional Classic Ensaymada follows a specific formula, you can absolutely adapt this recipe to your preferences or dietary needs.
For the dairy, you can substitute the whole milk with 2% milk, though the dough will be slightly less rich. I’ve also tested this Classic Ensaymada recipe with oat milk when my lactose-intolerant neighbor wanted to try it—just choose an unsweetened, full-fat variety for best results.
Regarding the cheese topping, sharp cheddar delivers the most authentic flavor, but I’ve seen Filipino bakeries use everything from mild cheddar to Edam. Theodore once made Classic Ensaymada with aged white cheddar, and honestly, it was fantastic. Some bakers even add a touch of cream cheese to the dough itself for extra tanginess.
If you want a richer Classic Ensaymada, brush the baked buns with sweetened condensed milk before adding butter and cheese. This creates an extra glossy, sweet finish that some regional variations prefer.
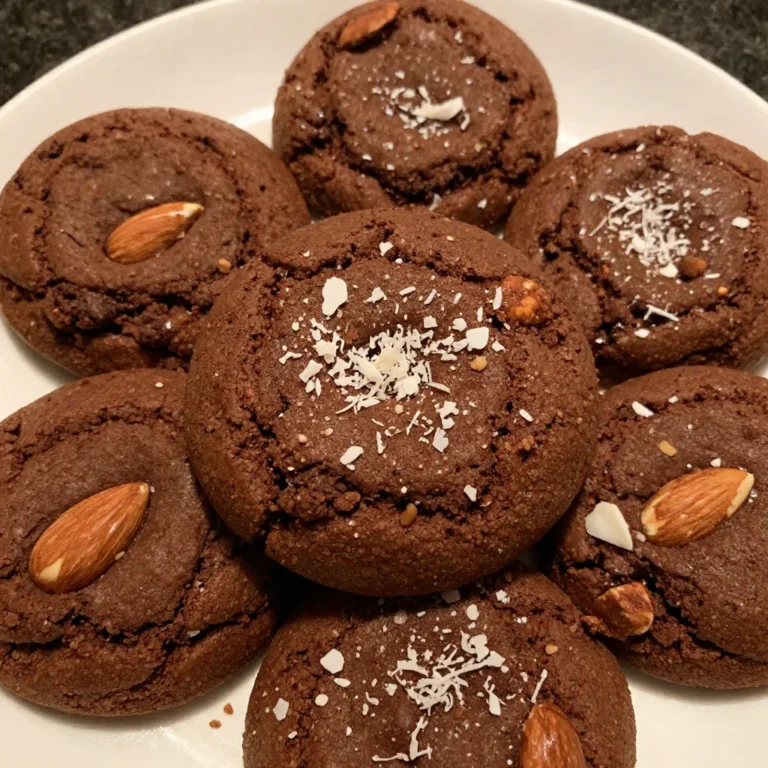
For a chocolate version, James developed a variation where we add cocoa powder to the dough and top the Classic Ensaymada with chocolate shavings instead of cheese. It’s not traditional, but it’s delicious for kids’ parties.
Step-by-Step Instructions
Making Classic Ensaymada requires patience, but the actual hands-on work is minimal. Most of the time involves letting the dough rise, which gives you freedom to do other things.
Step 1: Activate your yeast by combining it with warm milk and one tablespoon of sugar. Let it sit for about 5-10 minutes until it becomes foamy. This step ensures your yeast is alive and ready to create that beautiful rise in your Classic Ensaymada.
Step 2: In a large mixing bowl or stand mixer, combine the flour, remaining sugar, and salt. Create a well in the center and add your activated yeast mixture along with the eggs.
Step 3: Mix on low speed until everything comes together into a shaggy dough. Then, gradually add the softened butter, a few tablespoons at a time. This process takes patience—the dough will look messy initially, but keep mixing.
Step 4: Knead the dough for about 10-12 minutes in a stand mixer or 15-18 minutes by hand. You’re looking for a smooth, elastic dough that’s slightly tacky but not sticky. This kneading develops the gluten structure that gives Classic Ensaymada its signature texture.
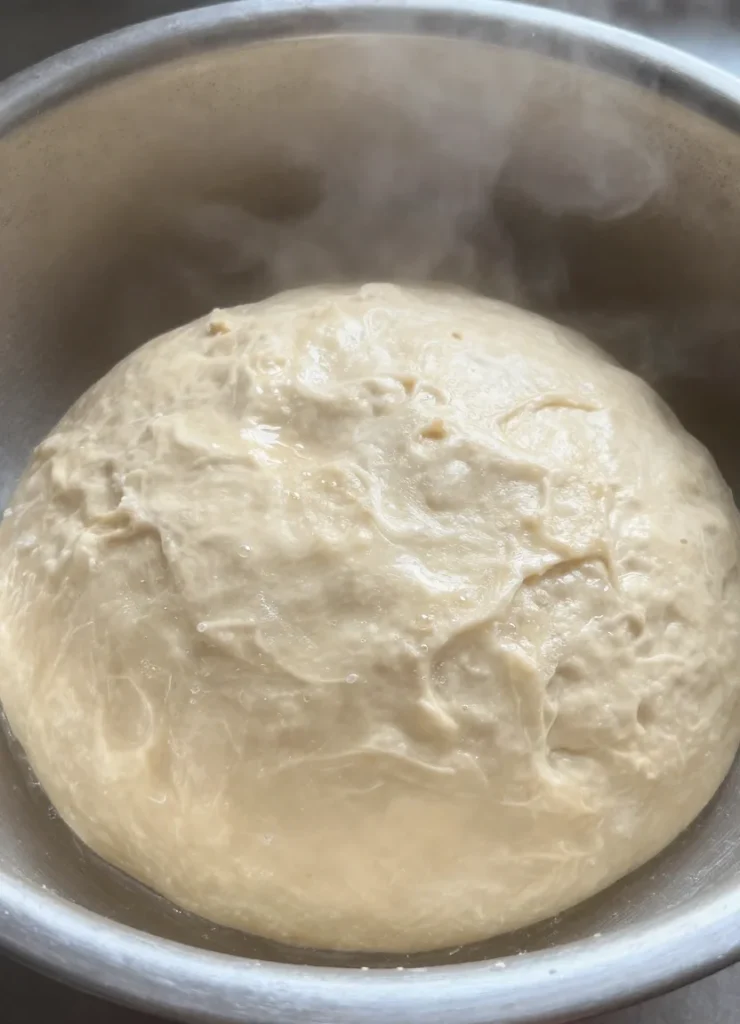
Step 5: Place the dough in a greased bowl, cover with plastic wrap, and let it rise in a warm spot for 1.5 to 2 hours. The dough should double in size. I usually place mine in the oven with just the light on—it creates the perfect warm environment.
Step 6: Once risen, punch down the dough and divide it into 12 equal pieces. Roll each piece into a long rope, about 12 inches long, then coil it into a spiral shape. This coiling technique is what gives Classic Ensaymada its distinctive appearance.
Step 7: Place each coiled piece in individual muffin cups or arrange them on a parchment-lined baking sheet with space between each one. Cover loosely and let them rise again for 45-60 minutes.
Step 8: Preheat your oven to 350°F. Brush the risen Classic Ensaymada with egg wash (one beaten egg) for that gorgeous golden color.
Step 9: Bake for 18-22 minutes until golden brown. The tops should spring back lightly when touched. Don’t overbake, or your Classic Ensaymada will lose that tender texture.
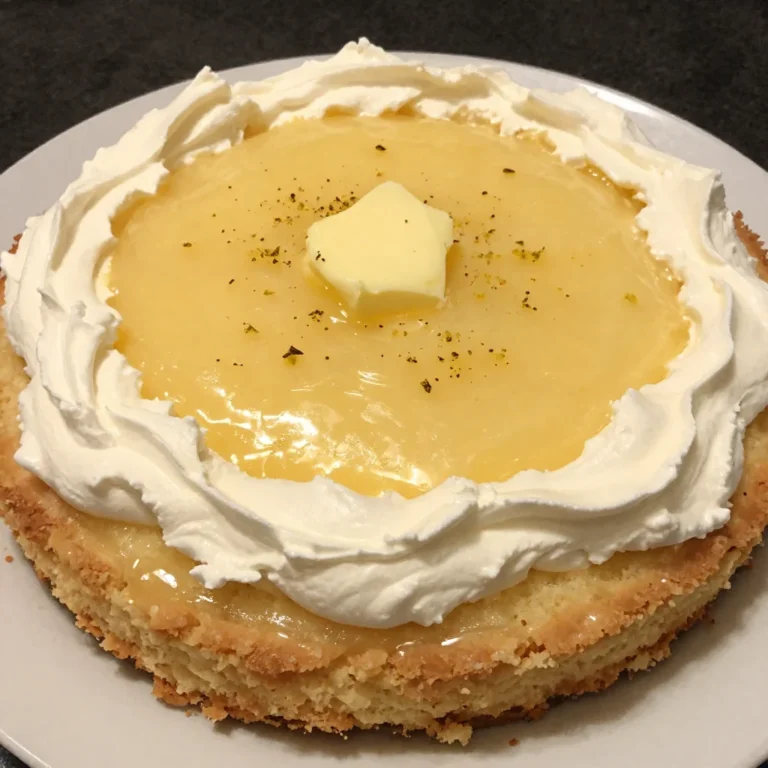
Step 10: While still warm, brush generously with softened butter, then top with grated cheddar cheese and a dusting of powdered sugar. The warmth helps the butter soak in and the cheese to slightly melt.
Pro Tips for Success
After making Classic Ensaymada more times than I can count, I’ve learned several tricks that guarantee success every time.
First, temperature matters enormously. Your butter must be truly softened—not melted, not cold, but somewhere around 65-68°F. Cold butter won’t incorporate smoothly into the dough, and melted butter will make your Classic Ensaymada greasy rather than tender.
Second, don’t rush the rising times. I know waiting feels tedious, but proper fermentation develops flavor and creates that pillowy texture that makes Classic Ensaymada special. If your kitchen is cold, the dough will take longer—just be patient.
Third, when shaping your Classic Ensaymada, work with lightly oiled hands rather than floured ones. Flour can create tough spots in the dough, while a tiny bit of oil keeps things smooth without affecting texture.
Additionally, invest in good quality cheddar cheese for topping. The pre-shredded stuff contains anti-caking agents that prevent proper melting. Freshly grated cheese from a block makes your Classic Ensaymada infinitely better.
Furthermore, don’t skimp on the butter topping. Traditional Classic Ensaymada is generous with butter—that’s part of what makes them so irresistible. I typically use about a tablespoon per bun.
Finally, if you’re nervous about yeast baking, just remember that Classic Ensaymada dough is quite forgiving. Even if your shaping isn’t perfect, they’ll still taste amazing.
Storage & Reheating Tips
Proper storage keeps your Classic Ensaymada fresh and delicious for several days. Once completely cooled, store them in an airtight container at room temperature for up to 3 days. The butter in the dough acts as a natural preservative, keeping them soft.
For longer storage, Classic Ensaymada freezes beautifully. Wrap each one individually in plastic wrap, then place them all in a freezer bag. They’ll keep for up to 3 months frozen. When you’re ready to enjoy them, thaw at room temperature for about an hour.
To reheat Classic Ensaymada, I recommend a quick 10-15 seconds in the microwave. This softens them back to that just-baked texture. Alternatively, wrap them in foil and warm in a 300°F oven for about 5 minutes.
Interestingly, some people actually prefer Classic Ensaymada the next day. The flavors meld together, and the texture becomes even more tender as the butter fully absorbs into the crumb.
What to Serve With This Recipe
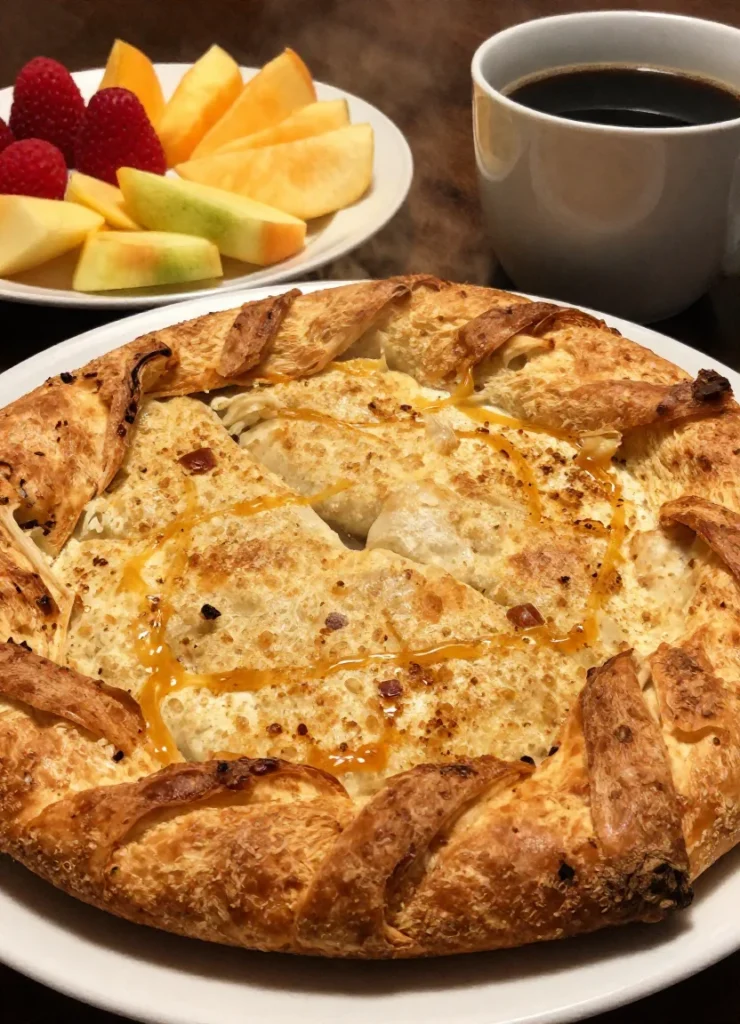
Classic Ensaymada shines brightest alongside a hot cup of coffee or Filipino hot chocolate. The richness of the bun pairs perfectly with the slight bitterness of coffee, creating that ideal sweet-and-bitter balance.
For a traditional Filipino breakfast, serve your Classic Ensaymada with champorado (chocolate rice porridge) or pandesal. Theodore loves eating them with scrambled eggs and crispy bacon—the sweet-savory combination works surprisingly well.
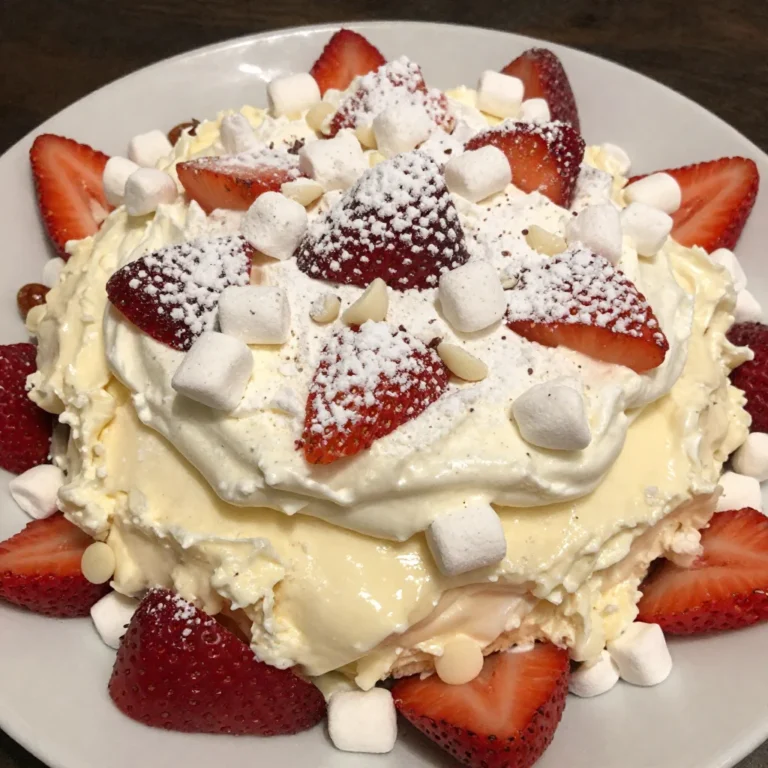
During afternoon merienda (snack time), Classic Ensaymada pairs beautifully with fresh fruit like mango slices or strawberries. The fruit’s acidity cuts through the richness, refreshing your palate between bites.
For special brunches, I arrange Classic Ensaymada on a platter alongside other pastries, fresh juice, and maybe some Filipino longanisa sausage. It creates a spread that always impresses guests.
Additionally, Classic Ensaymada makes an excellent dessert when served slightly warm with vanilla ice cream. The contrast between hot bread and cold ice cream is absolutely divine.
FAQs
Can I make Classic Ensaymada without a stand mixer?
Absolutely! While a stand mixer makes the process easier, you can definitely make Classic Ensaymada by hand. The kneading will take longer—about 15-18 minutes—and your arms will get a workout, but the results are equally delicious. Just knead until the dough becomes smooth and elastic.
Why is my Classic Ensaymada dough too sticky?
Classic Ensaymada dough should be slightly tacky but not wet-sticky. If yours seems too sticky, it could be due to measuring flour incorrectly (always spoon and level) or high humidity. Add flour one tablespoon at a time until the texture improves, but don’t add too much or your Classic Ensaymada will be dense.
Can I prepare Classic Ensaymada dough the night before?
Yes! This is actually one of my favorite techniques. After the first rise, punch down the dough, shape your Classic Ensaymada, and place them in the refrigerator overnight.
The next morning, let them come to room temperature for about an hour, then proceed with the second rise and baking. Cold fermentation actually improves the flavor.
What’s the best cheese for topping Classic Ensaymada?
Traditional Classic Ensaymada uses sharp cheddar cheese, which provides that signature salty-sweet contrast. However, you can experiment with mild cheddar, Edam, or even aged white cheddar. Avoid mozzarella or other mild cheeses that won’t provide enough flavor contrast.
How do I know when my Classic Ensaymada is fully baked?
Your Classic Ensaymada is done when the tops turn golden brown and the internal temperature reaches 190°F. Additionally, they should spring back lightly when you gently press the top. If they leave an indentation, they need a few more minutes. Watch carefully during the last few minutes to prevent overbaking.
Nutrition Information (per serving)
| Nutrient | Amount |
|---|---|
| Calories | 385 |
| Total Fat | 21g |
| Saturated Fat | 13g |
| Cholesterol | 95mg |
| Sodium | 285mg |
| Total Carbohydrates | 42g |
| Dietary Fiber | 1g |
| Sugars | 12g |
| Protein | 8g |
Making Classic Ensaymada at home transforms your kitchen into a Filipino bakery, filling every corner with that irresistible buttery aroma. Yes, these buns require time and patience, but the actual work is straightforward and deeply rewarding. Whether you’re connecting with your Filipino heritage or simply exploring new baking adventures, this Classic Ensaymada recipe delivers authentic flavor and bakery-quality results.
Trust the process, don’t rush the rises, and prepare yourself for the softest, most delicious buns you’ve ever made. Your kitchen, your family, and definitely your taste buds will thank you.
Classic Ensaymada
Ingredients
Method
- Activate your yeast by combining it with warm milk and one tablespoon of sugar. Let it sit for about 5-10 minutes until it becomes foamy.
- In a large mixing bowl or stand mixer, combine the flour, remaining sugar, and salt. Create a well in the center and add your activated yeast mixture along with the eggs.
- Mix on low speed until everything comes together into a shaggy dough. Gradually add the softened butter, a few tablespoons at a time.
- Knead the dough for about 10-12 minutes in a stand mixer or 15-18 minutes by hand until smooth and elastic.
- Place the dough in a greased bowl, cover with plastic wrap, and let it rise in a warm spot for 1.5 to 2 hours until doubled in size.
- Once risen, punch down the dough and divide it into 12 equal pieces. Roll each piece into a long rope and coil it into a spiral shape.
- Place each coiled piece in individual muffin cups or on a parchment-lined baking sheet. Cover loosely and let them rise again for 45-60 minutes.
- Preheat your oven to 350°F. Brush the risen Classic Ensaymada with egg wash for a golden color.
- Bake for 18-22 minutes until golden brown. The tops should spring back lightly when touched.
- While still warm, brush generously with softened butter, then top with grated cheddar cheese and a dusting of powdered sugar.