Sugar Cookies Royal Icing
I’ll never forget the first time I tried to decorate sugar cookies with royal icing. I was maybe twelve years old, standing in our kitchen with my older brother, covered in more icing than the cookies themselves. The icing dripped everywhere, pooled unevenly, and looked nothing like the perfect bakery cookies I’d seen in magazines.
But you know what? Those messy cookies tasted incredible, and that’s when I learned something important: royal icing transforms simple sugar cookies into something truly special. Today, I’m sharing my perfected recipe for Sugar Cookies Royal Icing — the kind that dries beautifully, tastes amazing, and actually works for home bakers like us.
Over the years, I’ve tested countless variations of Sugar Cookies Royal Icing, and this version strikes the perfect balance. It’s smooth enough to spread, thick enough to hold clean lines, and it dries with that gorgeous matte finish you see on professional cookies.
Whether you’re decorating holiday cookies, birthday treats, or just want to make something beautiful on a random Tuesday, this Sugar Cookies Royal Icing recipe will become your go-to. Let me walk you through everything you need to know.
Why You’ll Love This Sugar Cookies Royal Icing Recipe
First off, this Sugar Cookies Royal Icing actually tastes good. I know that sounds basic, but I’ve eaten plenty of beautifully decorated cookies that taste like sweetened chalk. Not this one. The flavor is clean, sweet, and complements the buttery richness of sugar cookies perfectly.
Beyond flavor, the consistency is foolproof. I’ve built in instructions for three different thicknesses — outlining, flooding, and detail work — so you can create professional-looking designs without needing fancy equipment. Additionally, this icing dries quickly but not too quickly. You’ll have enough working time to fix mistakes without waiting hours between layers.
Another reason you’ll love this recipe? It uses simple ingredients you probably already have. No corn syrup, no glycerin, no strange additives.
Just pure, straightforward Sugar Cookies Royal Icing that works every single time. Plus, it’s incredibly stable. Your decorated cookies will look gorgeous for days, even weeks if stored properly.
Finally, this recipe scales beautifully. Making a small batch for a dozen cookies? Perfect.
Decorating two hundred cookies for a wedding? This Sugar Cookies Royal Icing handles it all. I’ve done both, trust me.
Ingredients You’ll Need
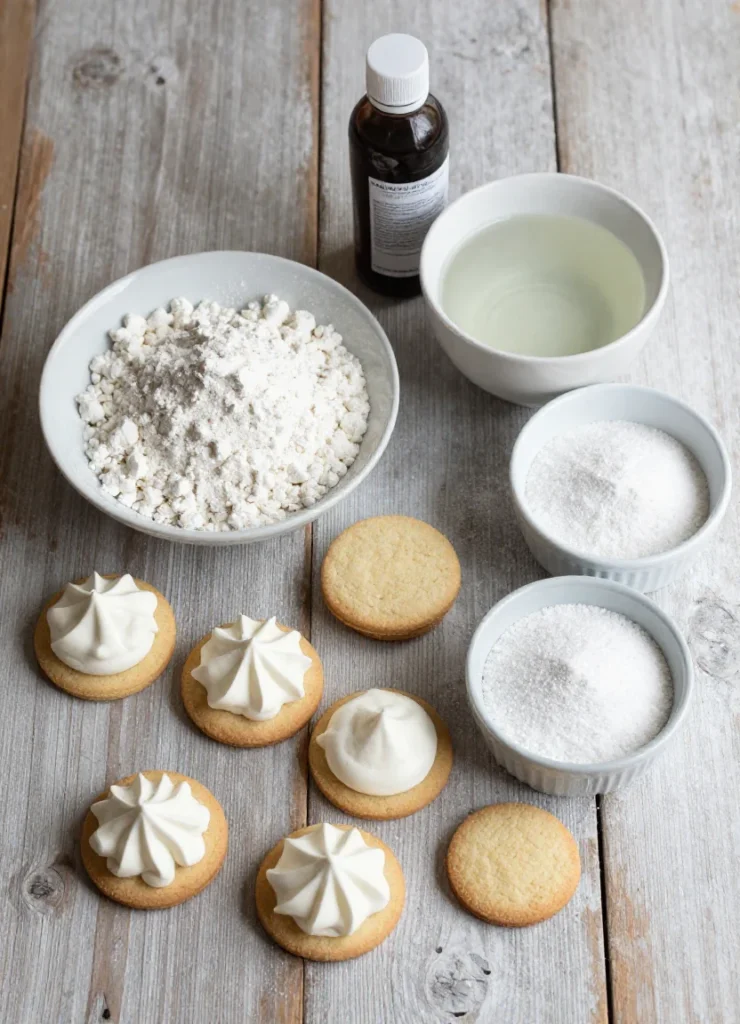
The beauty of Sugar Cookies Royal Icing lies in its simplicity. You need exactly four ingredients to create magic. Here’s what to gather:
| Ingredient | Amount | Notes |
|---|---|---|
| Meringue powder | 3 tablespoons | Essential for stability and safe consumption |
| Powdered sugar | 4 cups (1 pound) | Sift if lumpy for smoothest results |
| Warm water | 6-8 tablespoons | Add gradually for perfect consistency |
| Pure vanilla extract | 1/2 teaspoon | Optional but highly recommended |
I always use meringue powder rather than raw egg whites. It’s safer, more consistent, and shelf-stable. You can find it at any craft store or online. Honestly, once I switched to meringue powder for my Sugar Cookies Royal Icing, I never looked back.
The quality of your powdered sugar matters more than you’d think. Cheaper brands sometimes contain more cornstarch, which can affect the texture slightly. I’m not saying you need fancy sugar, but decent quality makes a difference.
Substitutions & Variations
While Sugar Cookies Royal Icing is pretty straightforward, you do have some flexibility. If you can’t find meringue powder, you can use pasteurized egg whites instead. Use three tablespoons of pasteurized egg whites in place of the meringue powder and water combination. The texture will be slightly different, but it works.
For flavor variations, consider adding almond extract instead of vanilla — about 1/4 teaspoon since it’s stronger. Lemon extract also works beautifully, especially for spring or summer cookies. I’ve even used a tiny bit of rose water for wedding cookies, which was stunning.
Color-wise, gel food coloring is your best friend. Liquid food coloring adds too much moisture and throws off your carefully calibrated consistency. Gel colors give you vibrant hues without compromising the texture of your Sugar Cookies Royal Icing.
If you need a vegan version, aquafaba works surprisingly well. Use three tablespoons of aquafaba (chickpea liquid) in place of the meringue powder and reduce the water accordingly. The drying time may be slightly longer, but the results are impressive.
Step-by-Step Instructions
Making perfect Sugar Cookies Royal Icing is all about technique and consistency. Let me walk you through the process step by step, the way I’d teach you in my kitchen.
Step 1: Start by combining the meringue powder and warm water in the bowl of your stand mixer. Whisk them together briefly by hand and let the mixture sit for about two minutes. This activates the meringue powder and ensures everything dissolves properly.
Step 2: Add the sifted powdered sugar and vanilla extract to the bowl. Attach the paddle attachment and start mixing on low speed. This prevents a powdered sugar explosion — I learned this the hard way, multiple times.
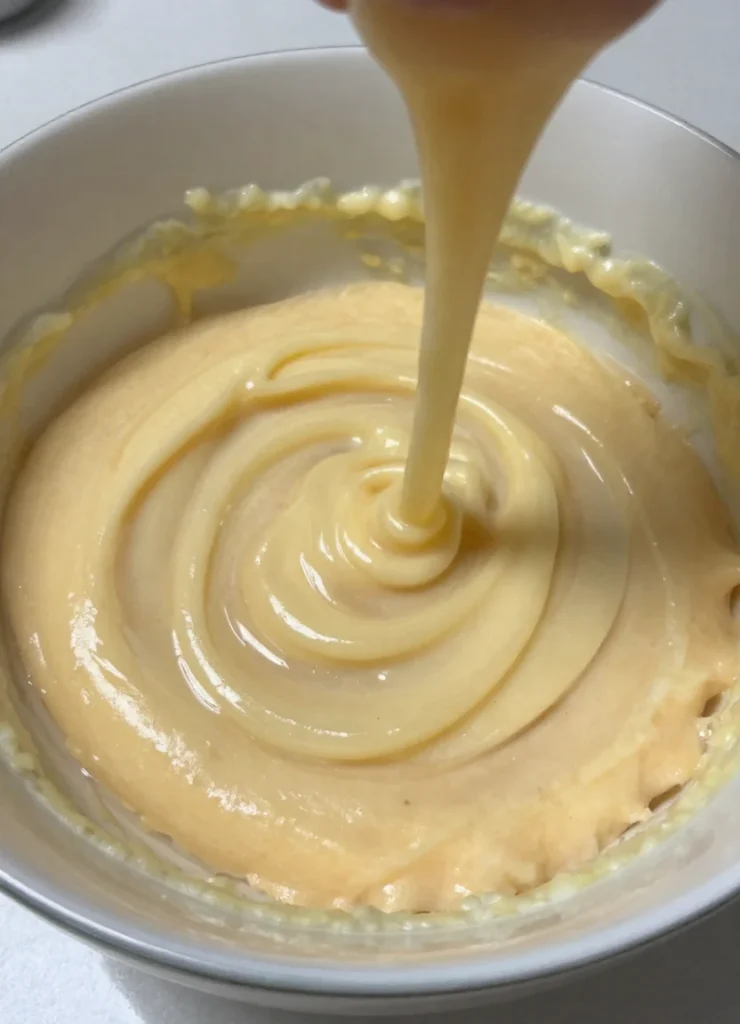
Step 3: Once combined, increase the speed to medium-high and beat for 5-7 minutes. Your Sugar Cookies Royal Icing should become bright white, fluffy, and thick. This is your stiff consistency, perfect for outlining and creating borders.
Step 4: Test the consistency by lifting the paddle. The icing should form stiff peaks that hold their shape. If you draw a knife through it, the line should stay visible. This is exactly what you want for piping detailed work.
Step 5: For flooding consistency, transfer some icing to a separate bowl and add water one teaspoon at a time. Stir gently after each addition. The right consistency looks like shampoo and settles smooth within 10-15 seconds when you drag a spoon through it.
Step 6: Cover all your bowls of Sugar Cookies Royal Icing with damp towels immediately. This icing crusts over incredibly fast, which can ruin your decorating session.
The process seems detailed, but once you make this recipe twice, it becomes second nature. I can whip up Sugar Cookies Royal Icing in my sleep now, and soon you will too.
Pro Tips for Success
After decorating thousands of cookies over the years, I’ve picked up tricks that make working with Sugar Cookies Royal Icing so much easier. First, always keep your icing covered. Even thirty seconds of exposure can create a skin that’ll clog your piping tips.
Secondly, invest in squeeze bottles for flooding consistency. They give you so much more control than piping bags and make the process faster. I use bottles with narrow tips, and they’ve revolutionized my cookie decorating.
Temperature matters more than most people realize. If your kitchen is very warm, your Sugar Cookies Royal Icing will dry slowly and may run. If it’s cold, the icing might be too stiff. Room temperature around 68-72°F works best.
Here’s something crucial: never overmix your icing once you’ve added color. Overmixing incorporates air bubbles that create tiny craters when the icing dries. Stir gently and let the icing sit for a few minutes so bubbles can rise and pop naturally.
When outlining and flooding, work in sections rather than trying to do everything at once. Outline 3-4 cookies, then go back and flood them. This prevents your outlines from crusting before you add the flood layer, which creates better adhesion.
Finally, use a scribe tool or toothpick to pop any air bubbles immediately after flooding. Just gently drag the tool across the surface. This simple step makes your finished Sugar Cookies Royal Icing look incredibly professional.
Storage & Reheating Tips
Unused Sugar Cookies Royal Icing stores beautifully, which makes this recipe incredibly practical. Transfer it to an airtight container and press plastic wrap directly onto the surface to prevent crusting. It’ll keep in the refrigerator for up to two weeks.
Before using refrigerated icing, let it come to room temperature completely. Then stir it gently — never whip it again, or you’ll incorporate too much air. Add a few drops of water if needed to restore the original consistency.
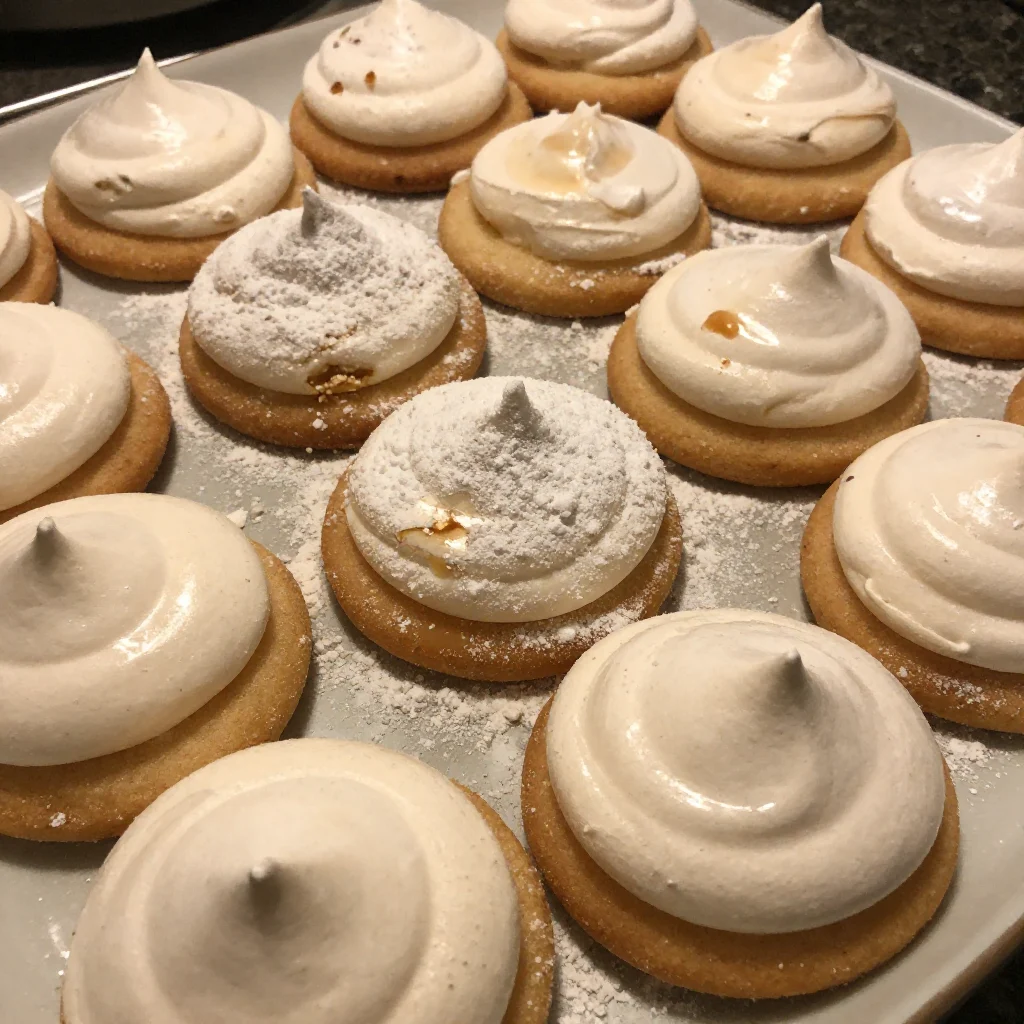
For longer storage, Sugar Cookies Royal Icing freezes surprisingly well. Freeze it in small containers for up to three months. Thaw overnight in the refrigerator, bring to room temperature, and stir gently before using.
As for decorated cookies, store them in a single layer in airtight containers once the icing has fully dried (usually 8-12 hours). Layer cookies between sheets of parchment paper if you need to stack them. Properly stored, decorated cookies with Sugar Cookies Royal Icing stay beautiful for 2-3 weeks at room temperature.
Never refrigerate decorated cookies unless absolutely necessary. The moisture causes colors to bleed and the icing to weep. Room temperature storage in a cool, dry place works best for maintaining that perfect finish.
What to Serve With This Recipe

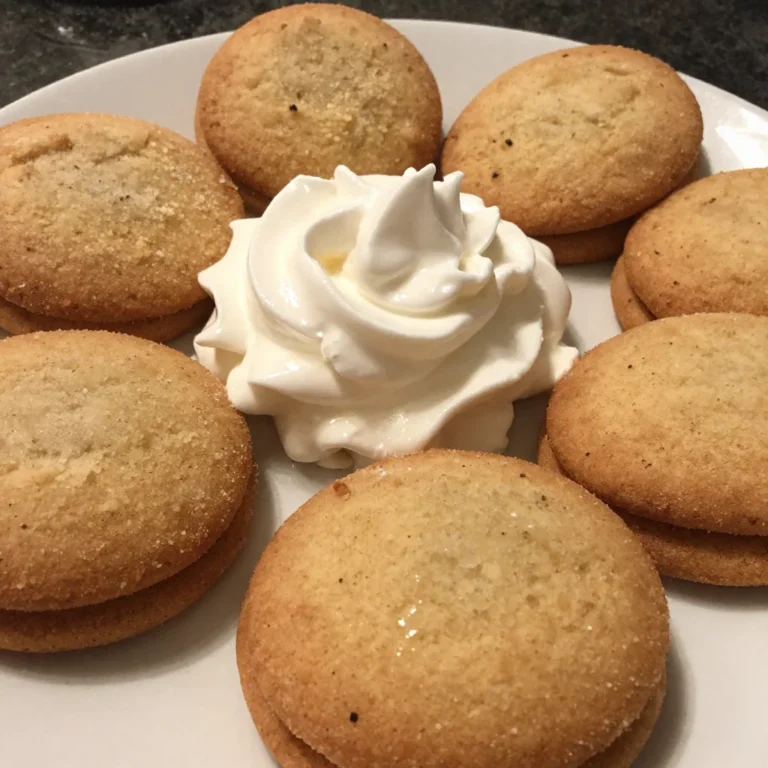
Beautifully decorated sugar cookies with Sugar Cookies Royal Icing shine as standalone treats, but they’re even better when thoughtfully paired. I love arranging them on platters alongside shortbread cookies and chocolate crinkles for variety in texture and flavor.
For holiday gatherings, serve your decorated cookies with hot chocolate, spiced cider, or a good strong coffee. The sweetness of the Sugar Cookies Royal Icing balances beautifully with slightly bitter or spiced beverages.
During summer parties, I pair decorated sugar cookies with fresh fruit platters and light sorbets. The visual appeal of colorful cookies next to vibrant berries creates an Instagram-worthy spread that guests absolutely love.
For kids’ parties, create a cookie decorating station with unfrosted sugar cookies and bowls of different colored Sugar Cookies Royal Icing. Provide sprinkles, dragees, and edible glitter. It’s entertaining and delicious at the same time.
These cookies also make exceptional gifts. Package them in clear cellophane bags tied with ribbon, or arrange them in decorative tins. Homemade cookies decorated with Sugar Cookies Royal Icing feel incredibly special and personal.
FAQs
Why is my royal icing too runny?
Your Sugar Cookies Royal Icing is too runny because you’ve added too much water. The fix is simple: add more powdered sugar, one tablespoon at a time, mixing thoroughly between additions until you reach the desired thickness. Always add water gradually when making icing — it’s much easier to thin icing than to thicken it.
How long does royal icing take to dry?
Sugar Cookies Royal Icing typically dries to the touch in 1-2 hours, but I always recommend waiting 8-12 hours before stacking or packaging cookies. Thicker applications take longer to dry completely. Humidity dramatically affects drying time — in very humid conditions, icing can take 24 hours to fully set.
Can I make royal icing without meringue powder?
Yes, you can make Sugar Cookies Royal Icing using pasteurized egg whites instead of meringue powder. Use three tablespoons of pasteurized egg whites and reduce or eliminate the water. Raw egg whites work too but pose a slight food safety risk, especially if serving cookies to children, elderly people, or pregnant women.
Why does my royal icing crack when it dries?
Cracking happens when Sugar Cookies Royal Icing dries too quickly or when you’ve applied it too thickly. To prevent cracking, ensure your icing consistency isn’t too thick, avoid decorating in direct sunlight or near heat sources, and apply thinner, even layers. Sometimes adding a tiny drop of corn syrup helps prevent cracking.
How do I get smooth royal icing on cookies?
Achieving smooth Sugar Cookies Royal Icing requires the right flooding consistency and proper technique. Your icing should be thin enough to self-level within 10-15 seconds. After flooding, immediately pop any air bubbles with a toothpick and gently shake the cookie to encourage the icing to settle flat. Let gravity do most of the work.
Nutrition Information (per serving)
Based on icing for one decorated sugar cookie (approximately 2 tablespoons of icing):
| Nutrient | Amount |
|---|---|
| Calories | 65 |
| Total Fat | 0g |
| Saturated Fat | 0g |
| Cholesterol | 0mg |
| Sodium | 5mg |
| Total Carbohydrates | 16g |
| Sugars | 15g |
| Protein | 0g |
Keep in mind that Sugar Cookies Royal Icing is primarily decorative and adds to the overall enjoyment of the cookie rather than serving as a significant source of nutrition. The recipe makes enough icing to decorate approximately 24-36 cookies, depending on your design complexity and coverage.
This Sugar Cookies Royal Icing recipe has transformed my cookie decorating from frustrating to genuinely enjoyable. Whether you’re making holiday cookies, celebration treats, or just want to try something creative on the weekend, this icing delivers consistent, beautiful, delicious results every time. Start with simple designs, be patient with yourself, and remember that even imperfect cookies made with love taste absolutely wonderful.
Sugar Cookies Royal Icing
Ingredients
Method
- Combine meringue powder and warm water in a bowl and let sit for 2 minutes.
- Add sifted powdered sugar and vanilla extract, then mix on low speed.
- Increase speed to medium-high and beat for 5-7 minutes until thick and fluffy.
- Test consistency for stiff peaks.
- For flooding consistency, add water gradually to a portion of icing.
- Cover bowls with damp towels to prevent crusting.