Homemade Bread Rolls
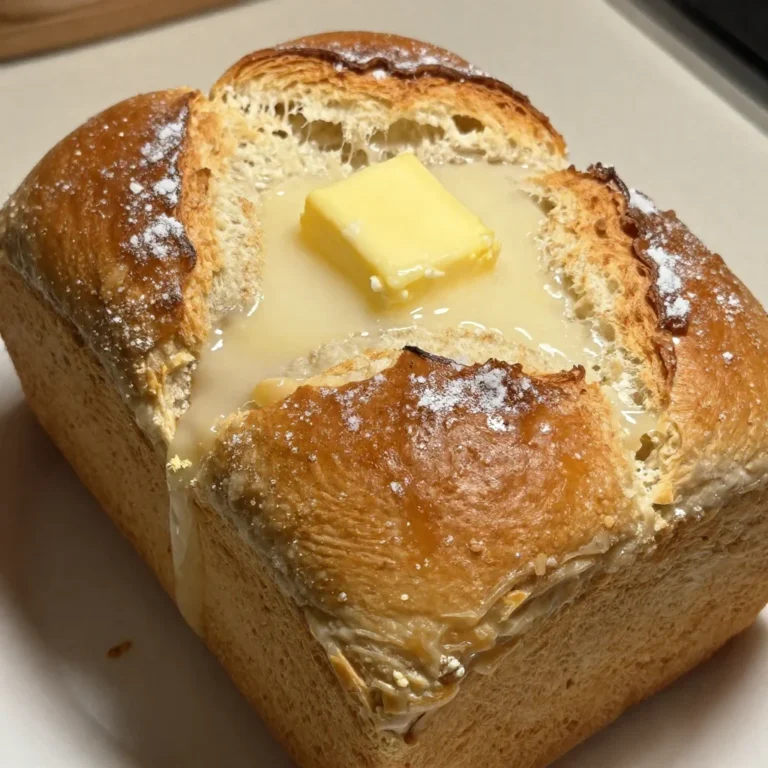
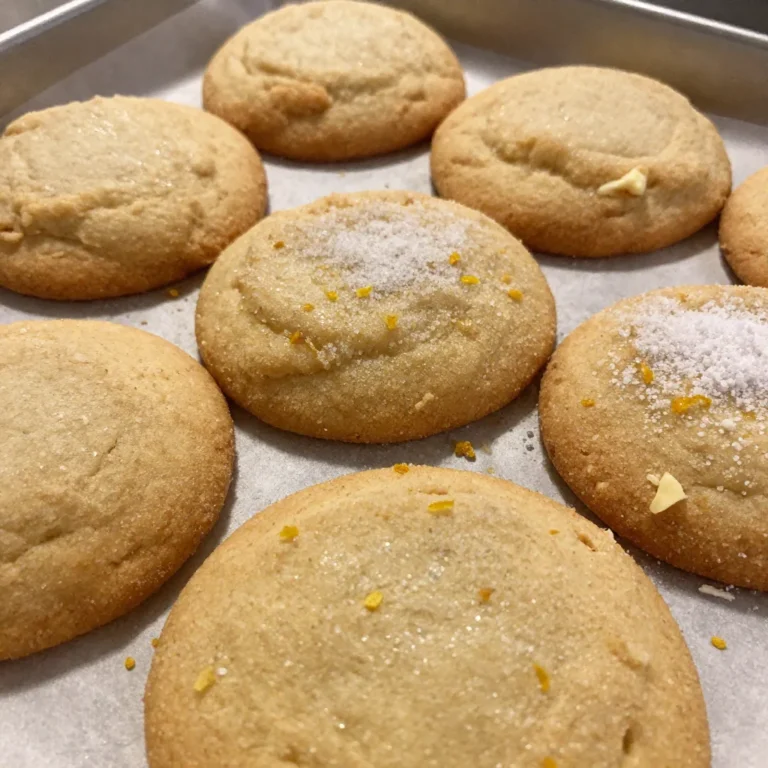
There’s something almost magical about pulling a tray of golden, pillowy homemade bread rolls from the oven. The smell fills every corner of your kitchen, and suddenly everyone appears, drawn in like they’ve been summoned. I learned to make bread rolls from my oldest brother during one of those lazy Sunday afternoons when we had nowhere to be and nothing but time.
He showed me that homemade bread rolls aren’t complicated — they just need a little patience and a lot of love. Now, I make them at least twice a month, and honestly, store-bought rolls haven’t made it into my shopping cart since. These homemade bread rolls are soft, buttery, and versatile enough to serve at a holiday dinner or alongside weeknight soup. Once you taste the difference, you’ll understand why baking your own rolls is absolutely worth it.
Why You’ll Love These Homemade Bread Rolls
First, let’s talk about texture. These homemade bread rolls are incredibly soft with a tender crumb that practically melts in your mouth. They’re light but substantial, with a golden crust that has just the right amount of chew. Unlike dense, dry store-bought options, these rolls stay fresh and fluffy for days.
Second, the flavor is outstanding. You’ll taste real butter, a hint of sweetness, and that unmistakable warmth that only comes from fresh-baked bread. Plus, your kitchen will smell like a professional bakery, which is honestly half the appeal.
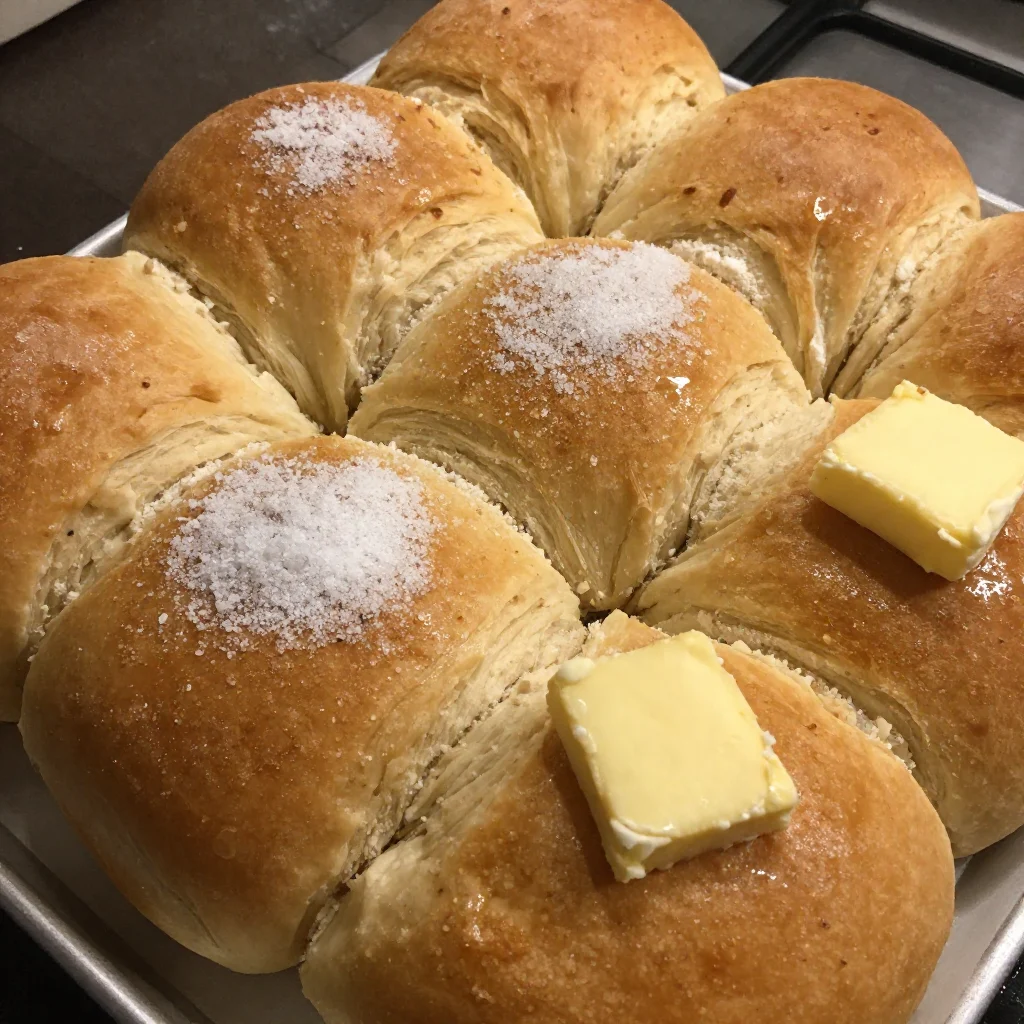
Third, they’re incredibly versatile. Serve these homemade bread rolls with Thanksgiving turkey, slather them with jam for breakfast, use them for sliders, or simply tear into one while it’s still warm with a pat of salted butter. They work for any occasion.
Finally, making homemade bread rolls is deeply satisfying. There’s something therapeutic about kneading dough and watching it rise. It’s simple, honest cooking that connects you to generations of home bakers before you.
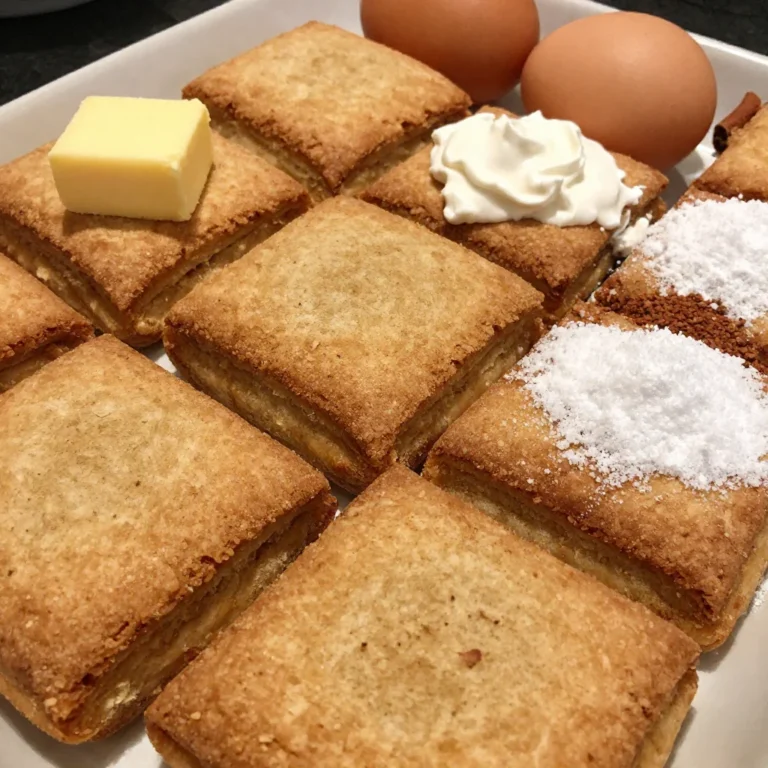
Ingredients You’ll Need
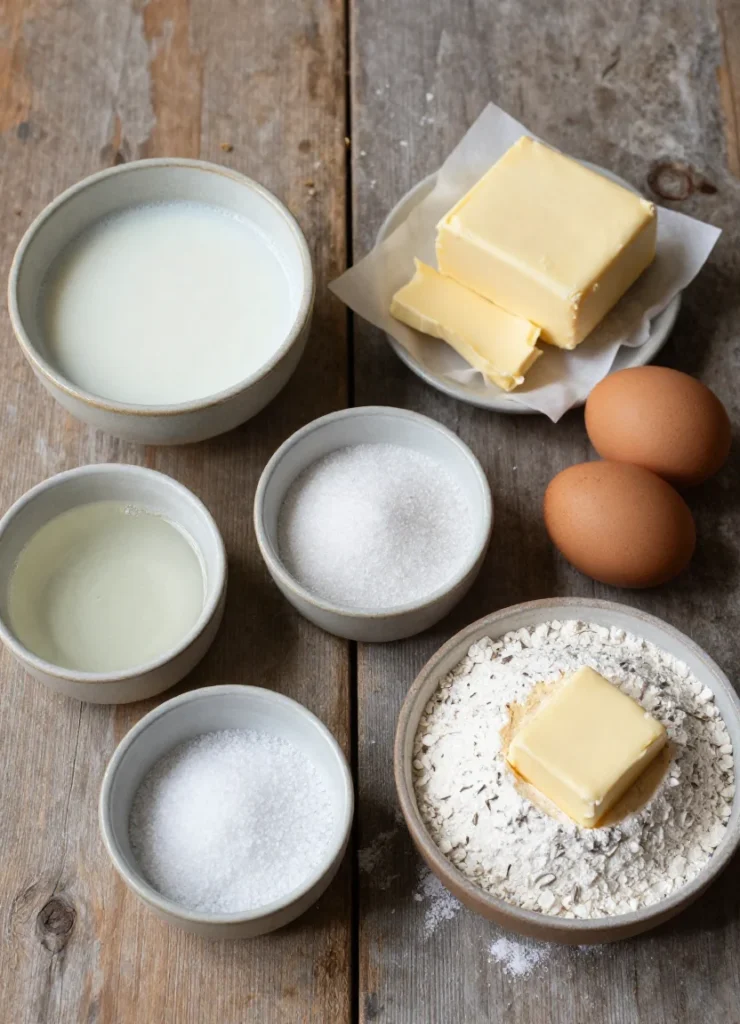
The beauty of homemade bread rolls lies in their simplicity. You probably have most of these ingredients in your pantry already. Here’s what you need:
| Ingredient | Amount |
|---|---|
| Warm whole milk | 1 cup |
| Active dry yeast | 2¼ teaspoons (1 packet) |
| Granulated sugar | 3 tablespoons |
| Unsalted butter, melted | 4 tablespoons |
| Large egg | 1 |
| Fine sea salt | 1½ teaspoons |
| All-purpose flour | 3½ cups, plus more for dusting |
| Extra butter for brushing | 2 tablespoons |
Make sure your milk is warm but not hot — around 110°F is perfect. Too hot, and you’ll kill the yeast. Too cold, and the yeast won’t activate properly. I usually warm mine in the microwave for about 30 seconds.
Use good-quality butter. Since butter is a key flavor component in these homemade bread rolls, it’s worth using the real stuff. Don’t skimp here.
Substitutions & Variations
While I love the classic version, homemade bread rolls are incredibly adaptable. Here are some variations I’ve tested successfully:
Whole Wheat Rolls: Replace half the all-purpose flour with whole wheat flour. The rolls will be slightly denser but have a lovely nutty flavor. You might need an extra tablespoon or two of milk.
Herb Butter Rolls: Mix chopped fresh rosemary, thyme, or parsley into the melted butter before brushing it on top. The aroma is incredible.
Garlic Parmesan Rolls: Add minced garlic to the butter and sprinkle grated Parmesan over the rolls before baking. Perfect for Italian night.
Honey Wheat Rolls: Swap the sugar for honey and use half whole wheat flour. These have a subtle sweetness that pairs beautifully with chili.
Dairy-Free Option: Use warm water or almond milk instead of dairy milk, and substitute the butter with olive oil or vegan butter. The texture changes slightly, but they’re still delicious.
Step-by-Step Instructions
Making homemade bread rolls is straightforward. Follow these steps, and you’ll have beautiful rolls every time.
Step 1: Activate the yeast. In a large mixing bowl, combine warm milk, yeast, and one tablespoon of sugar. Stir gently and let it sit for about 5 minutes until foamy. This tells you the yeast is alive and ready to work.
Step 2: Mix the wet ingredients. Add the remaining sugar, melted butter, egg, and salt to the yeast mixture. Whisk everything together until well combined.
Step 3: Add the flour gradually. Start with 3 cups of flour, stirring with a wooden spoon. The dough will be shaggy. Add the remaining flour a little at a time until the dough pulls away from the sides of the bowl.
Step 4: Knead the dough. Turn it out onto a lightly floured surface and knead for 8-10 minutes. The dough should become smooth, elastic, and slightly tacky but not sticky. This step develops gluten, which gives homemade bread rolls their structure.
Step 5: First rise. Place the dough in a greased bowl, turning once to coat. Cover with a clean kitchen towel and let it rise in a warm spot for about 1 hour, or until doubled in size. I usually put mine near a sunny window.
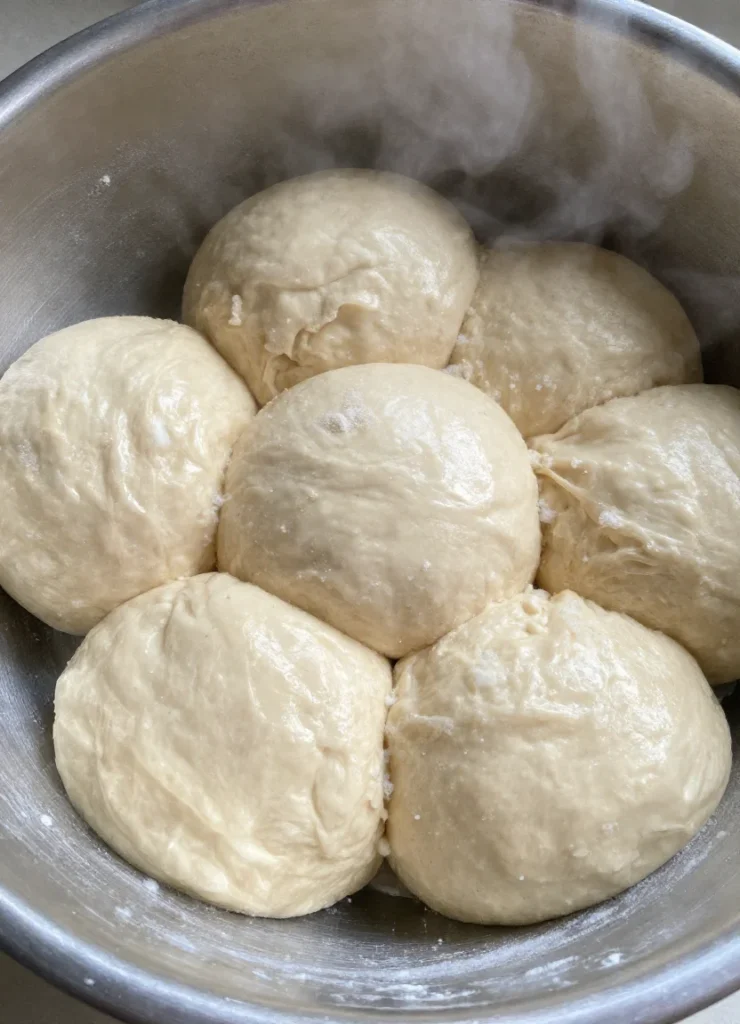
Step 6: Shape the rolls. Punch down the dough to release air. Divide it into 12 equal pieces (I use a kitchen scale for accuracy). Roll each piece into a smooth ball by tucking the edges underneath.
Step 7: Second rise. Place the shaped rolls in a greased 9×13-inch baking dish, leaving a little space between each one. Cover and let them rise for another 30-45 minutes until puffy and touching each other.
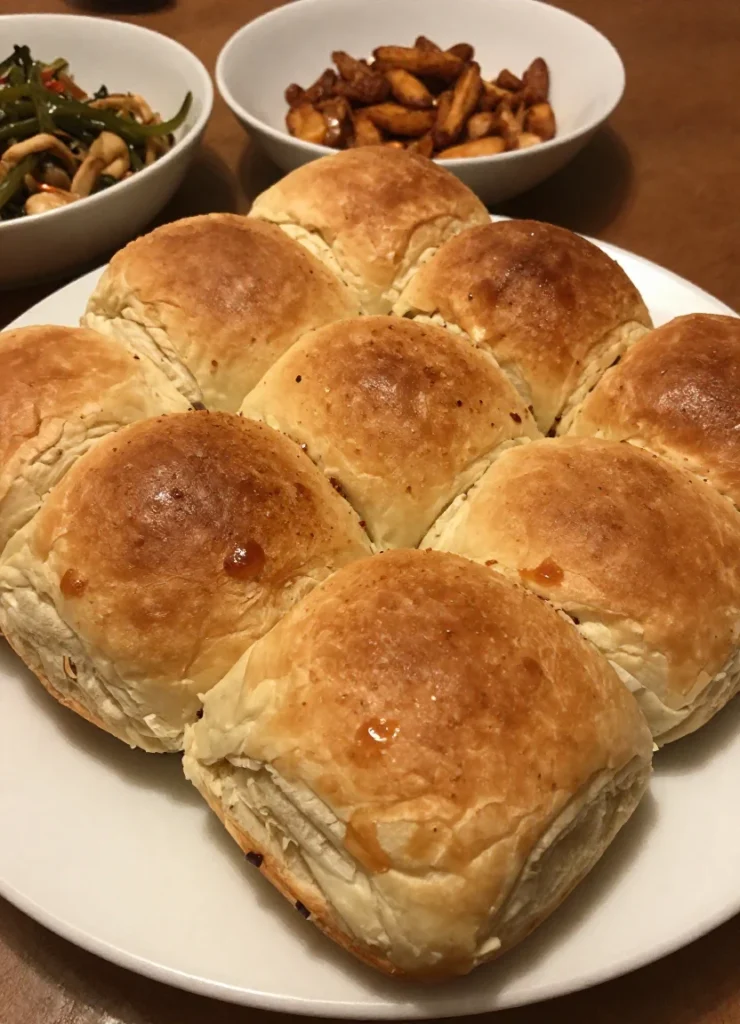
Step 8: Bake. Preheat your oven to 375°F. Bake the homemade bread rolls for 18-22 minutes until golden brown on top. They should sound hollow when tapped.
Step 9: Brush with butter. As soon as the rolls come out of the oven, brush them generously with melted butter. This adds flavor and keeps them soft.
Pro Tips for Success
After making countless batches of homemade bread rolls, I’ve learned a few tricks that make all the difference.
Check your yeast: Always proof your yeast first. If it doesn’t foam after 5 minutes, your yeast is dead. Start over with fresh yeast to avoid disappointment.
Don’t add too much flour: Bread dough should be slightly tacky. Adding too much flour makes dense, dry rolls. Add flour gradually and stop when the dough is manageable.
Knead properly: Don’t skip or rush the kneading. This develops gluten and creates that perfect chewy-soft texture. If you have a stand mixer, use the dough hook on medium speed for 6-7 minutes.
Create a warm environment: Yeast loves warmth. If your kitchen is cold, turn your oven on for just 1 minute, turn it off, then place the covered dough inside to rise.
Use a thermometer: For perfectly baked homemade bread rolls, check the internal temperature. They’re done when they reach 190°F in the center.
Don’t overbake: Pull them out when they’re just golden. They’ll continue cooking slightly from residual heat, and you want them soft, not crusty.
Storage & Reheating Tips
These homemade bread rolls stay fresh for several days when stored properly.
Room temperature: Store cooled rolls in an airtight container or zip-top bag for up to 3 days. They’ll stay soft and delicious.
Refrigerator: I don’t recommend refrigerating bread rolls as it actually makes them go stale faster. Stick with room temperature or freezer storage.
Freezer: Wrap individual rolls tightly in plastic wrap, then place them in a freezer bag. They’ll keep for up to 3 months. Thaw at room temperature or warm directly from frozen in a 300°F oven for 10 minutes.
Reheating: Wrap rolls in foil and warm in a 350°F oven for 5-7 minutes. For a crispier exterior, unwrap them for the last 2 minutes. You can also microwave individual rolls for 15-20 seconds, though they won’t be quite as good.
Refresh stale rolls: Sprinkle slightly stale homemade bread rolls with water and warm them in the oven. This brings back some of their original softness.
What to Serve With This Recipe
Homemade bread rolls are wonderfully versatile. Here are my favorite pairings:
Soups and stews: Serve these rolls alongside creamy tomato soup, hearty beef stew, or chicken noodle soup. They’re perfect for soaking up every last drop.
Holiday dinners: These homemade bread rolls belong on your Thanksgiving and Christmas table. They complement turkey, ham, prime rib, and all the traditional sides beautifully.
Barbecue: Pull them apart and pile on pulled pork, brisket, or grilled chicken. The soft texture handles saucy meats perfectly.
Breakfast: Split them open and spread with butter and jam, or use them for breakfast sandwiches with eggs and bacon.
Simple dinners: Sometimes I serve homemade bread rolls with just a big salad and call it dinner. Add some good olive oil for dipping, and you’re set.
Sliders: These rolls are the perfect size for sliders. Try them with mini burgers, meatballs, or pulled chicken.
FAQs
Can I make homemade bread rolls without a stand mixer?
Absolutely. I made these by hand for years before getting a stand mixer. Just knead the dough on a floured surface for about 10 minutes.
Your arms will get a workout, but the results are just as good. The dough should feel smooth and elastic when ready.
Why didn’t my bread rolls rise?
The most common reasons are dead yeast or liquid that was too hot or too cold. Always check the expiration date on your yeast and proof it first. Your liquid should feel warm to the touch but not hot — around 110°F is ideal. Also, make sure your rising environment is warm enough.
Can I prepare the dough ahead of time?
Yes! After the first rise, punch down the dough, shape the rolls, and place them in the baking dish. Cover tightly and refrigerate overnight.
The next day, let them sit at room temperature for 30-45 minutes before baking. This slow rise actually develops more flavor in your homemade bread rolls.
How do I know when the rolls are done baking?
Look for a golden-brown color on top. The rolls should sound hollow when tapped. For precision, use an instant-read thermometer — they’re done at 190°F internal temperature. Overbaking makes them dry, so watch carefully during the last few minutes.
Can I use instant yeast instead of active dry yeast?
Yes, you can substitute instant yeast in equal amounts. The advantage is that you can skip the proofing step and mix instant yeast directly with the dry ingredients. However, I still like proofing active dry yeast because it confirms the yeast is working before I invest time in the recipe.
Nutrition Information (per serving)
| Nutrient | Amount |
|---|---|
| Calories | 165 |
| Total Fat | 5g |
| Saturated Fat | 3g |
| Cholesterol | 26mg |
| Sodium | 310mg |
| Total Carbohydrates | 26g |
| Dietary Fiber | 1g |
| Sugars | 3g |
| Protein | 5g |
This recipe makes 12 homemade bread rolls. Nutrition information is approximate and based on one roll without additional butter for serving.
Making homemade bread rolls from scratch is one of those kitchen skills that feels impressive but is actually quite simple once you understand the basics. The key is patience — letting the dough rise properly and not rushing the process. Trust me, the reward is worth the wait.
Whether you’re baking these rolls for a special occasion or just because your family deserves something warm and wonderful, you’ll find they become a regular request in your home. There’s nothing quite like breaking open a fresh, warm roll and watching the steam escape. That’s the moment when you know all the effort was worthwhile.
Homemade Bread Rolls
Ingredients
Method
- In a large mixing bowl, combine warm milk, yeast, and one tablespoon of sugar. Stir gently and let it sit for about 5 minutes until foamy.
- Add the remaining sugar, melted butter, egg, and salt to the yeast mixture. Whisk everything together until well combined.
- Start with 3 cups of flour, stirring with a wooden spoon. The dough will be shaggy. Add the remaining flour a little at a time until the dough pulls away from the sides of the bowl.
- Turn it out onto a lightly floured surface and knead for 8-10 minutes until smooth and elastic.
- Place the dough in a greased bowl, cover with a towel, and let it rise in a warm spot for about 1 hour, or until doubled in size.
- Punch down the dough to release air. Divide it into 12 equal pieces and roll each piece into a smooth ball.
- Place the shaped rolls in a greased 9x13-inch baking dish, cover, and let them rise for another 30-45 minutes until puffy.
- Preheat your oven to 375°F and bake the rolls for 18-22 minutes until golden brown.
- Brush the rolls with melted butter as soon as they come out of the oven.